

There are three types of content available for you to import.
| Options | Main Steps Involved | Naming Conventions |
|---|---|---|
| A single page template | Locate the page template and import it from Canvas Commons directly into your course. Currently available:
|
|
| Canvas module templates | Locate the Canvas module(s) you want to use and import it from Canvas Commons into your course. Currently available:
|
|
| A full course | Locate the course template and import it from Canvas Commons into your course. The course template contains a homepage, course overview module and a week 1 sample module. |
|
- Log in to QUB Canvas and open Canvas Commons by clicking on 'Commons' in the global navigation menu (see screenshot below).

- In the search bar, search for the content you want, referring to the naming conventions contained in the table in the previous section. For example, to find the homepage template, search for “QUB-Canvas-Homepage-Template”

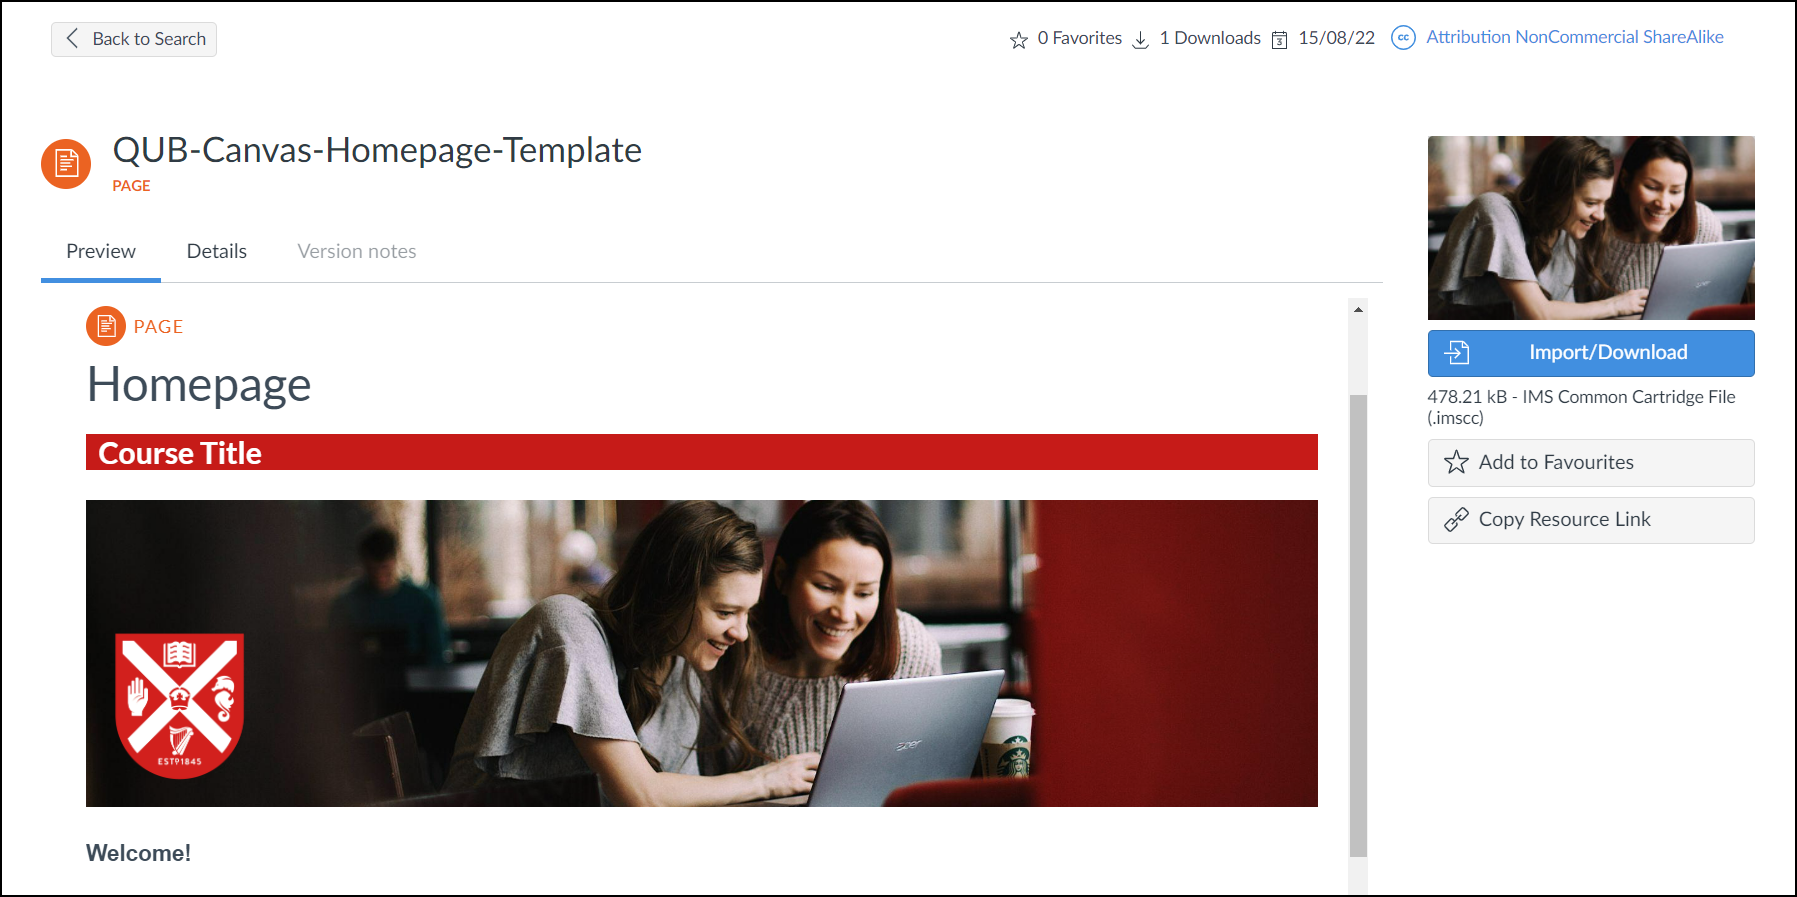
- Click on the relevant tile to see a preview of the content.
Reminder: We recommend that you import templates into your your Module Develop Area (MDA) when redesigning your course rather than you current, live course (which has students enrolled).
- To import the content, select 'Import/Download' on the right-hand side.
![]()
- From the pop-up window, choose which course(s) you want to import the content into (e.g. DEVELOP MOD1001: Zoology for Beginners). You can select multiple courses at once and use the search bar if needed.
- At the bottom of the pop-up window, click the 'Import into Course'
![]()
Note that the import may take a few minutes to complete.
![]()
- After a few minutes, the content will appear within your course. If you imported a page template, you will find it in the Pages section of the course. If you imported a Canvas module template, it will appear in the Modules section.
If you have imported the homepage, you will need to set it as the new ‘Front Page’ of your course.
To do this:
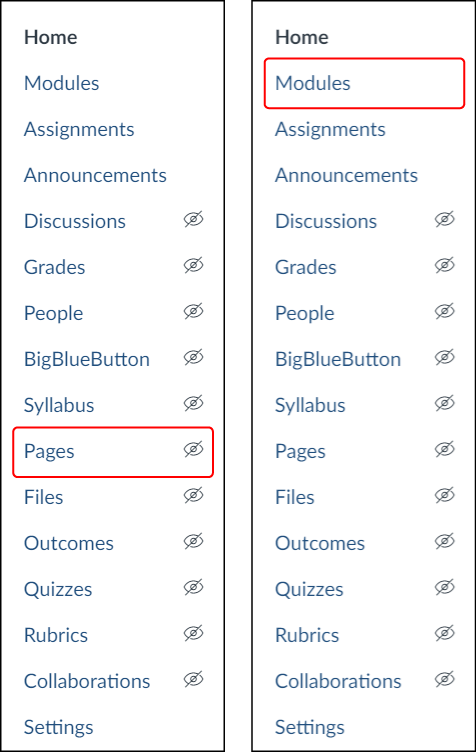
- Go to the Pages area of your course and click on

- Locate the homepage and publish it (click on
 to change it to
  )
) - Click on the ellipsis on the right-hand side and select 'Use as Front Page'
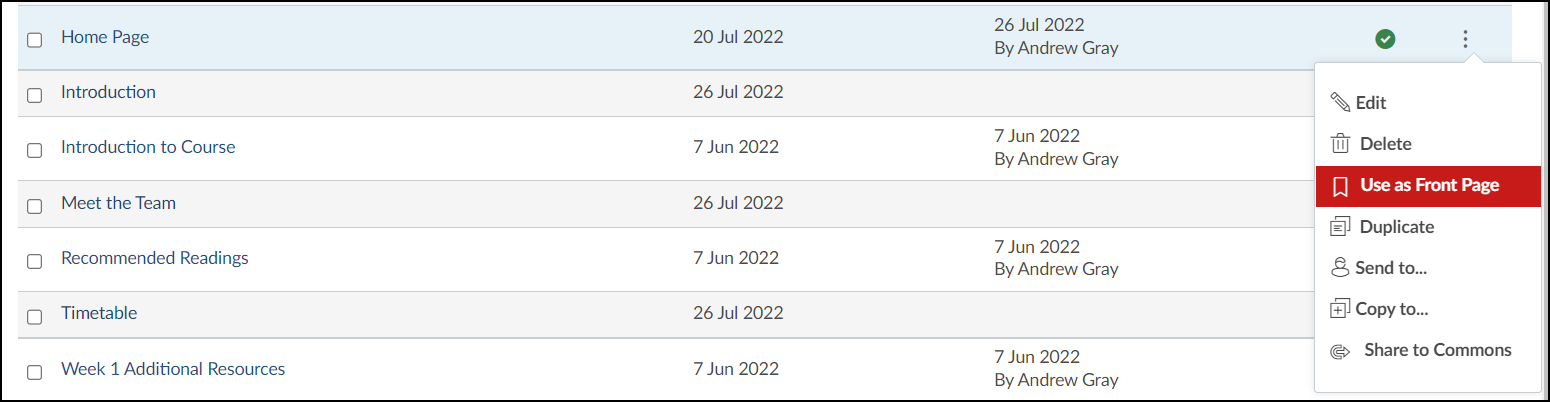
- Go to the Home area of your course and select 'Choose Home Page' from the right-hand side bar

- Select the page you want and click 'Save'

If you import the full course, you will see buttons as quick links at the bottom of your Homepage which will take students to the indicated location (these buttons do not appear on the standalone homepage template).

It is possible to edit these buttons if desired.
Remove a button
- To remove a button, click on 'Edit' and simply remove the hyperlinked text that you no longer want. Save the change.
Add a button
- To add an additional button, click on 'Edit' and copy and paste one of the existing links (hyperlinked text). You can now change the text to whatever you would like the button to say by right-clicking, selecting 'Link Options' and changing the text. Save the change.

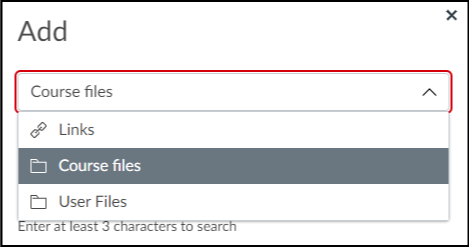
- It is important that the button takes students to the correct place. To edit a button’s link, click on 'Edit' and highlight the relevant hyperlinked text. Now click on 'Insert', then 'Media' and 'Course Media'.
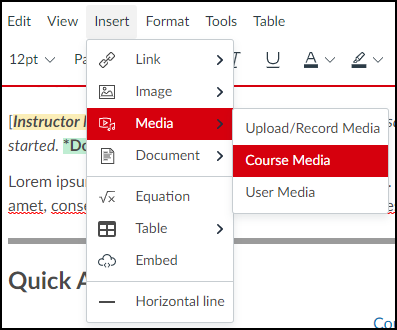
- In the side window which appears, select 'Links' from the dropdown menu. You can now choose the area of your course that you would like your button to link to. Click on 'Save' and test your button to make sure it works.
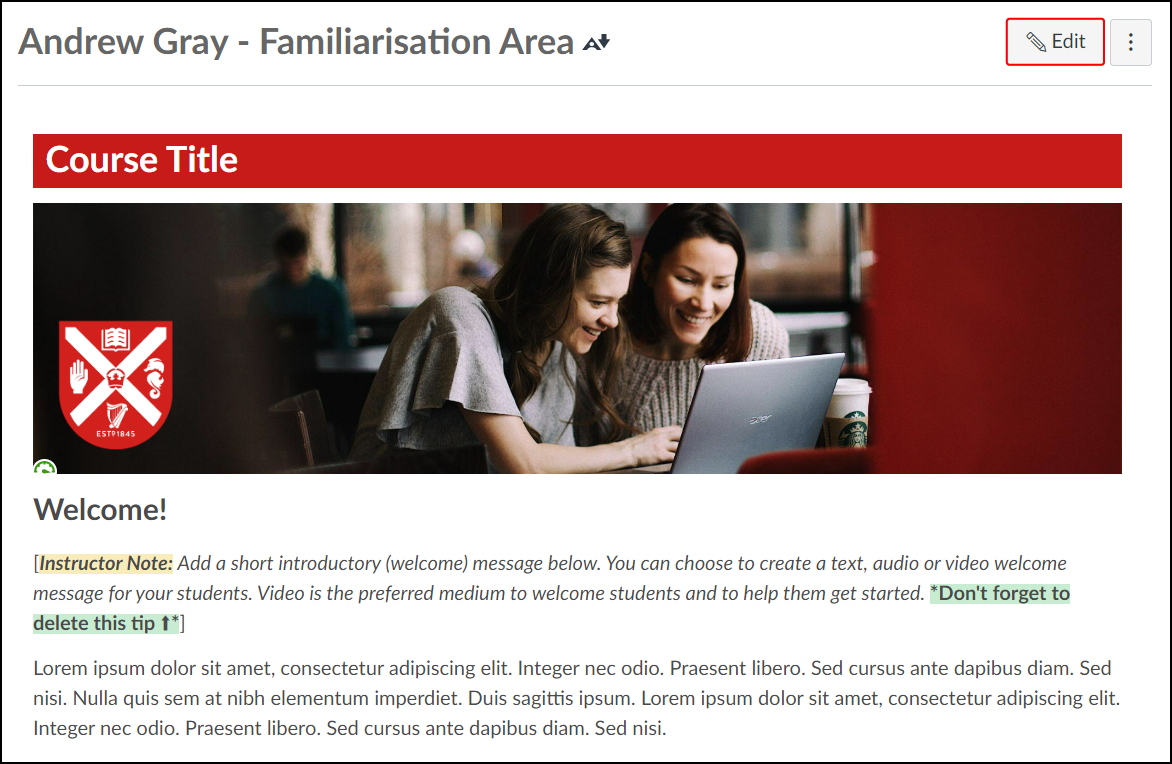
The content on the templates needs to be customised so that it makes sense as part of your course. As an example, this is what you would need to change on the homepage template:
- Replace “Course Title” with your course code and title
- Replace the dummy text (lorem ipsum) with a short welcome message
Each template contains instructor notes which will guide you on how to fill each page with your own content. Don’t forget to delete the instructor notes when editing.

To edit the content on any page, click on 'Edit' and use the Rich Content Editor to make changes. You can find out more about the RCE and its tools in this blog post: What is the Rich Content Editor?
Remember to save all changes as you go.

Types of Multimedia Content that can be added
You can add various types of multimedia content to your pages using the RCE such as documents, handbooks, videos and links.
| Links |  | Link to an external source/website or to another page within the course |
|---|---|---|
| Images |  | Add an image to your page from your computer, course images, or from a URL link |
| Record/upload media |  | Add a video recording from your computer or course media |
| Documents |  | Add a document from your computer or course files |
| Embed |  | Embed content to your page using an embed code (e.g., MS Stream videos, a Padlet wall etc.) |