

When you first log into Canvas you will see the ‘Dashboard’ which shows you all the courses you are able to access with a 'card' for each course. Click on a course card to access that course (see image below).
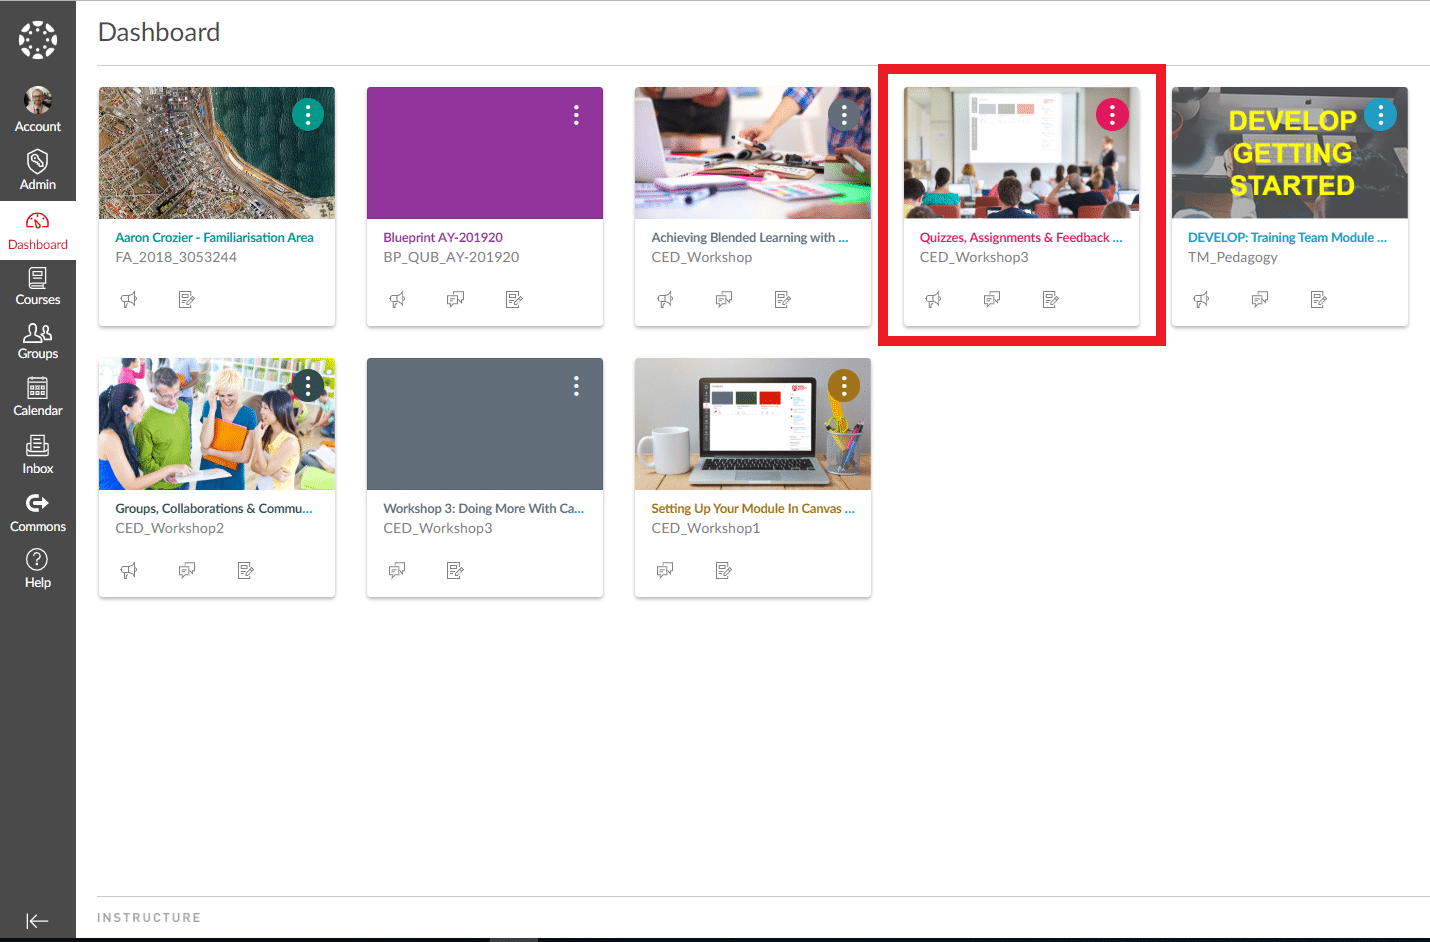
Queen's have provided all courses with template pages to achieve a level of consistency across modules. The navigation of Canvas should therefore be similar regardless of the course you are accessing.
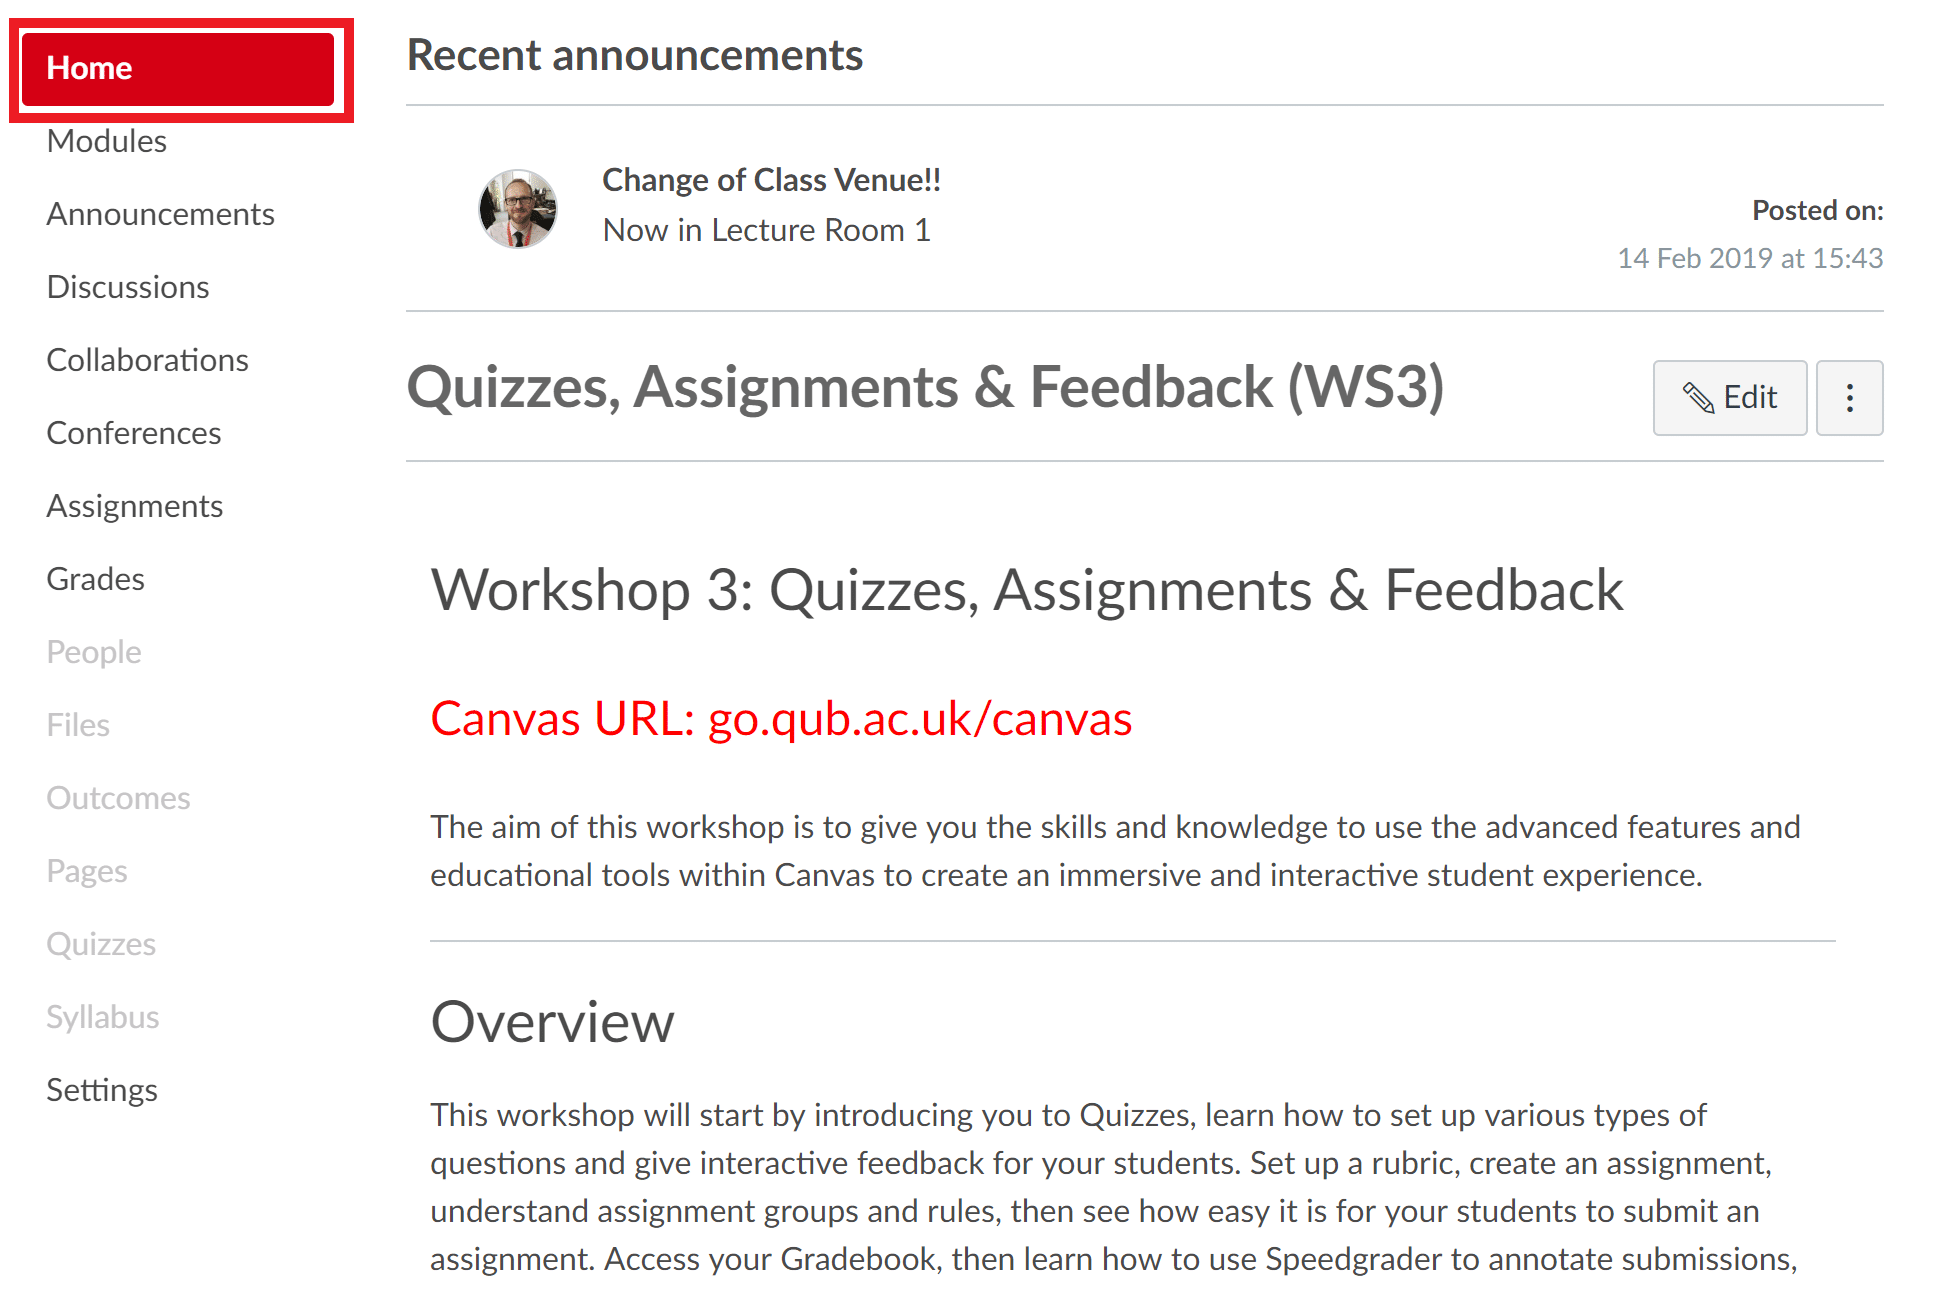
The first page you will see is ‘Home’ which will give you general information regarding the administration of the course as well as learning outcomes and a link to the module handbook (see image below) .
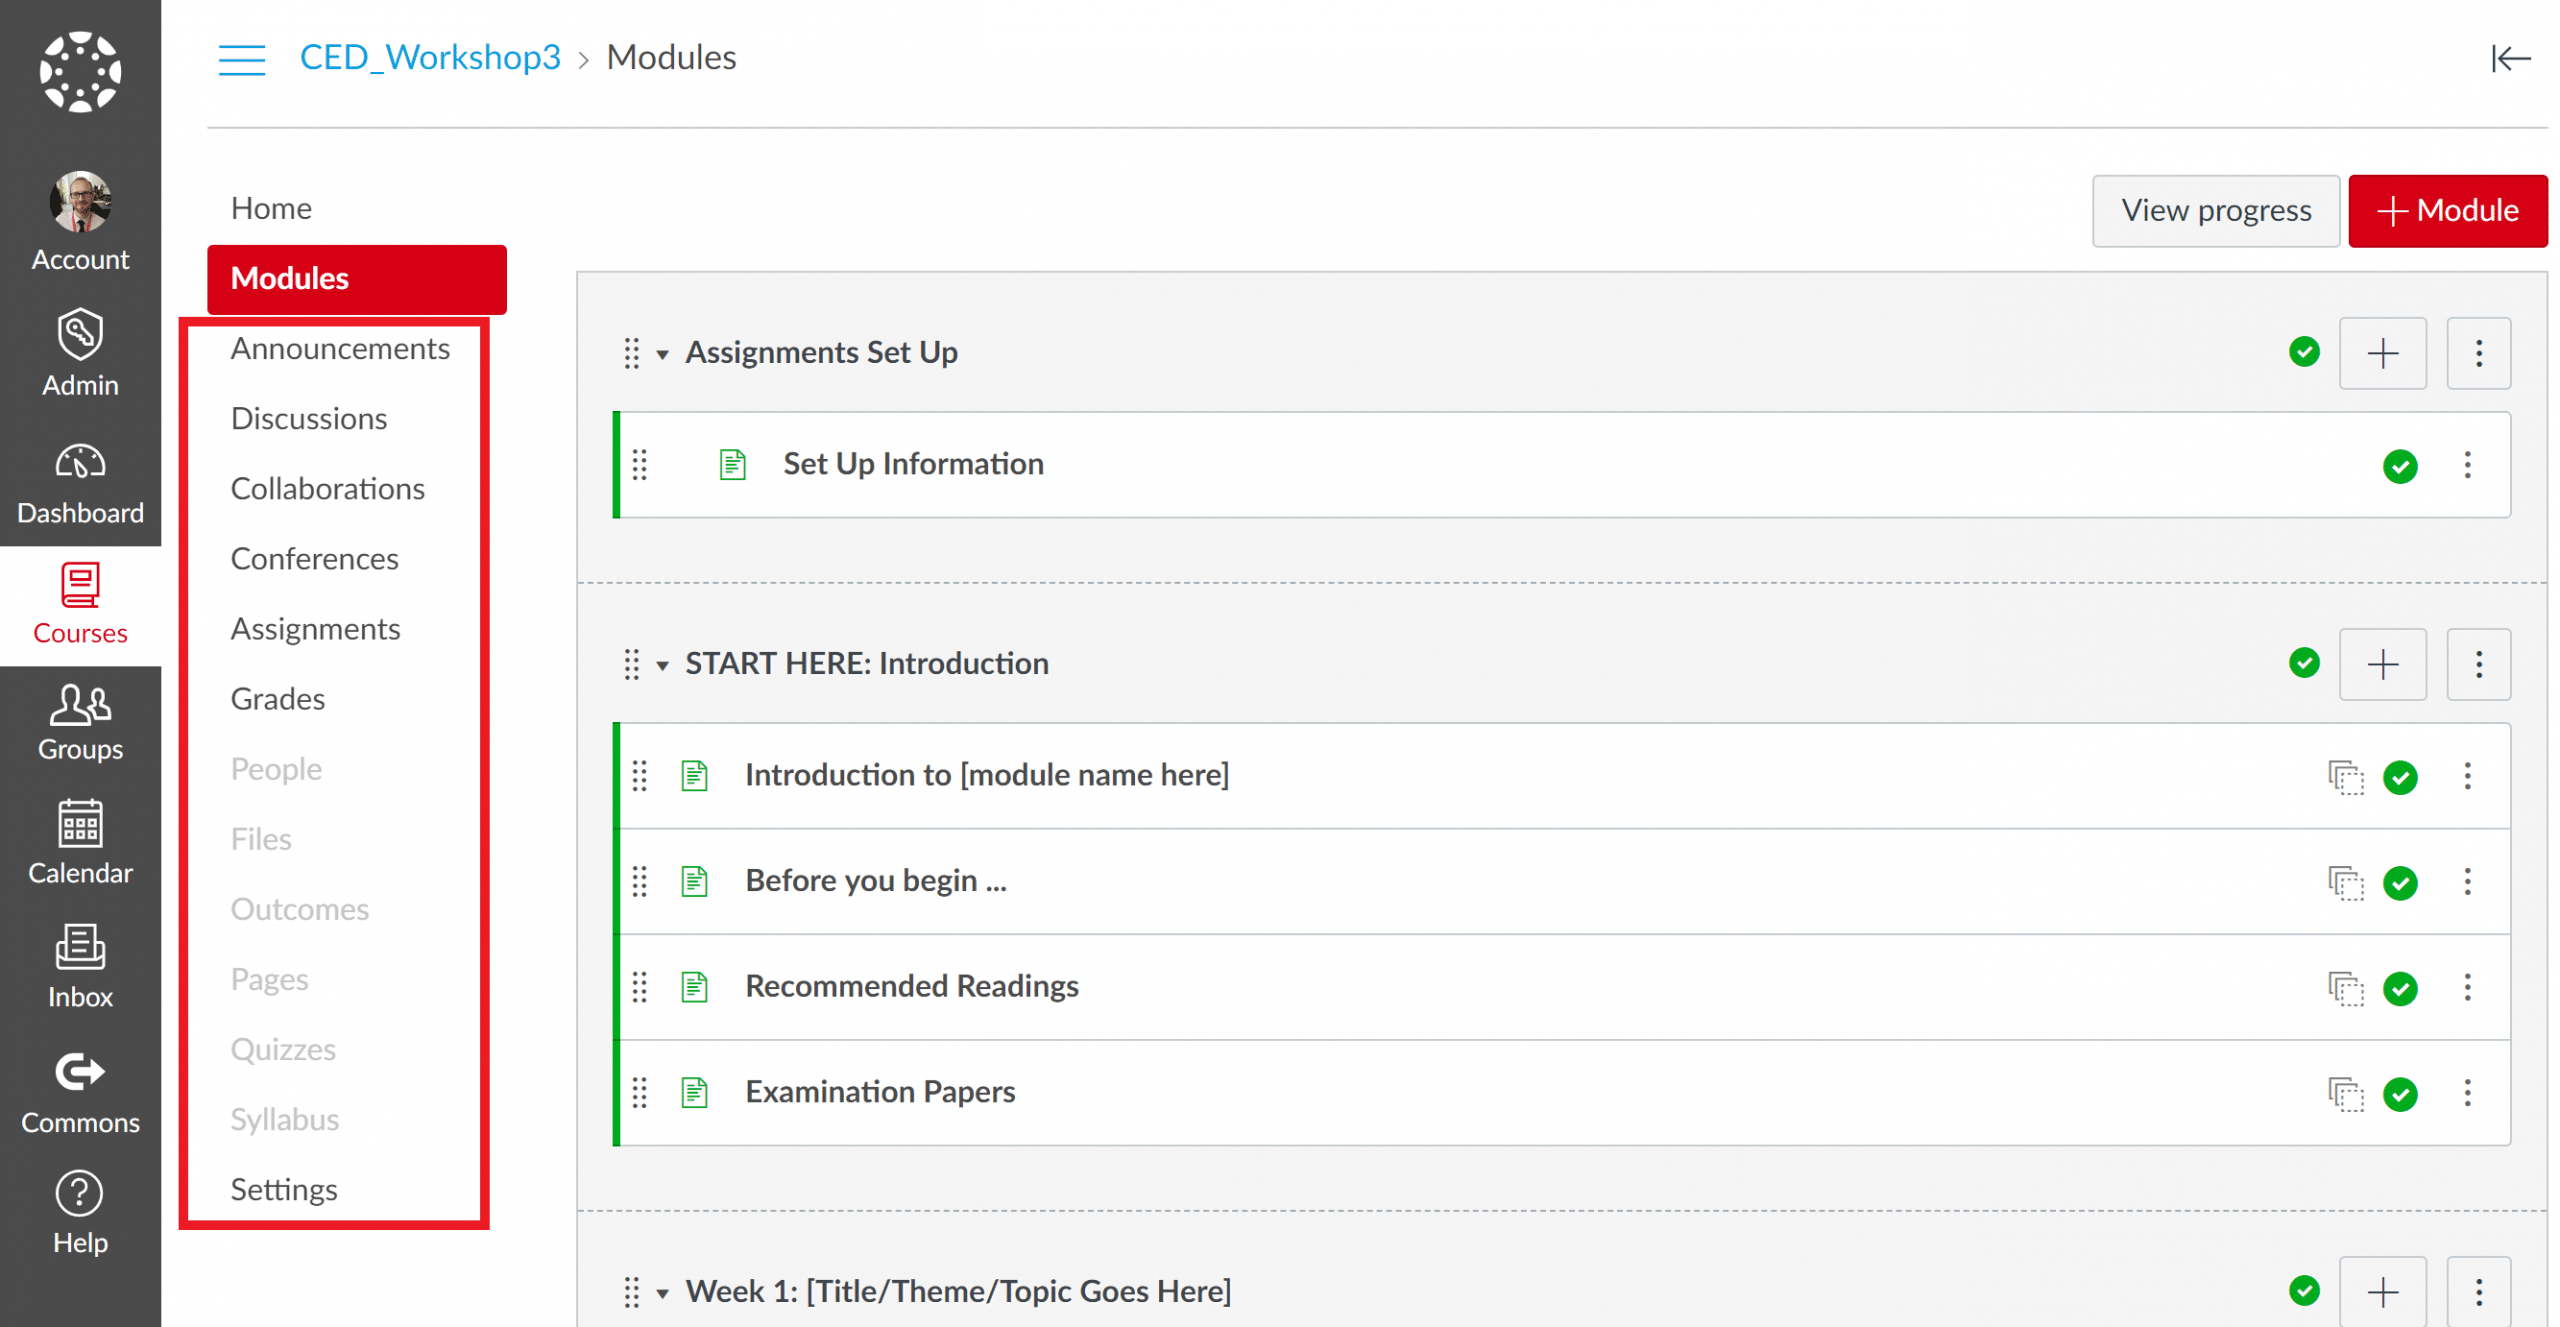
The ‘Modules’ area is the primary area in which students interact with the learning resources. When you click here you will see the course structure broken down into weeks or themes and the resources categorised (see image below) .
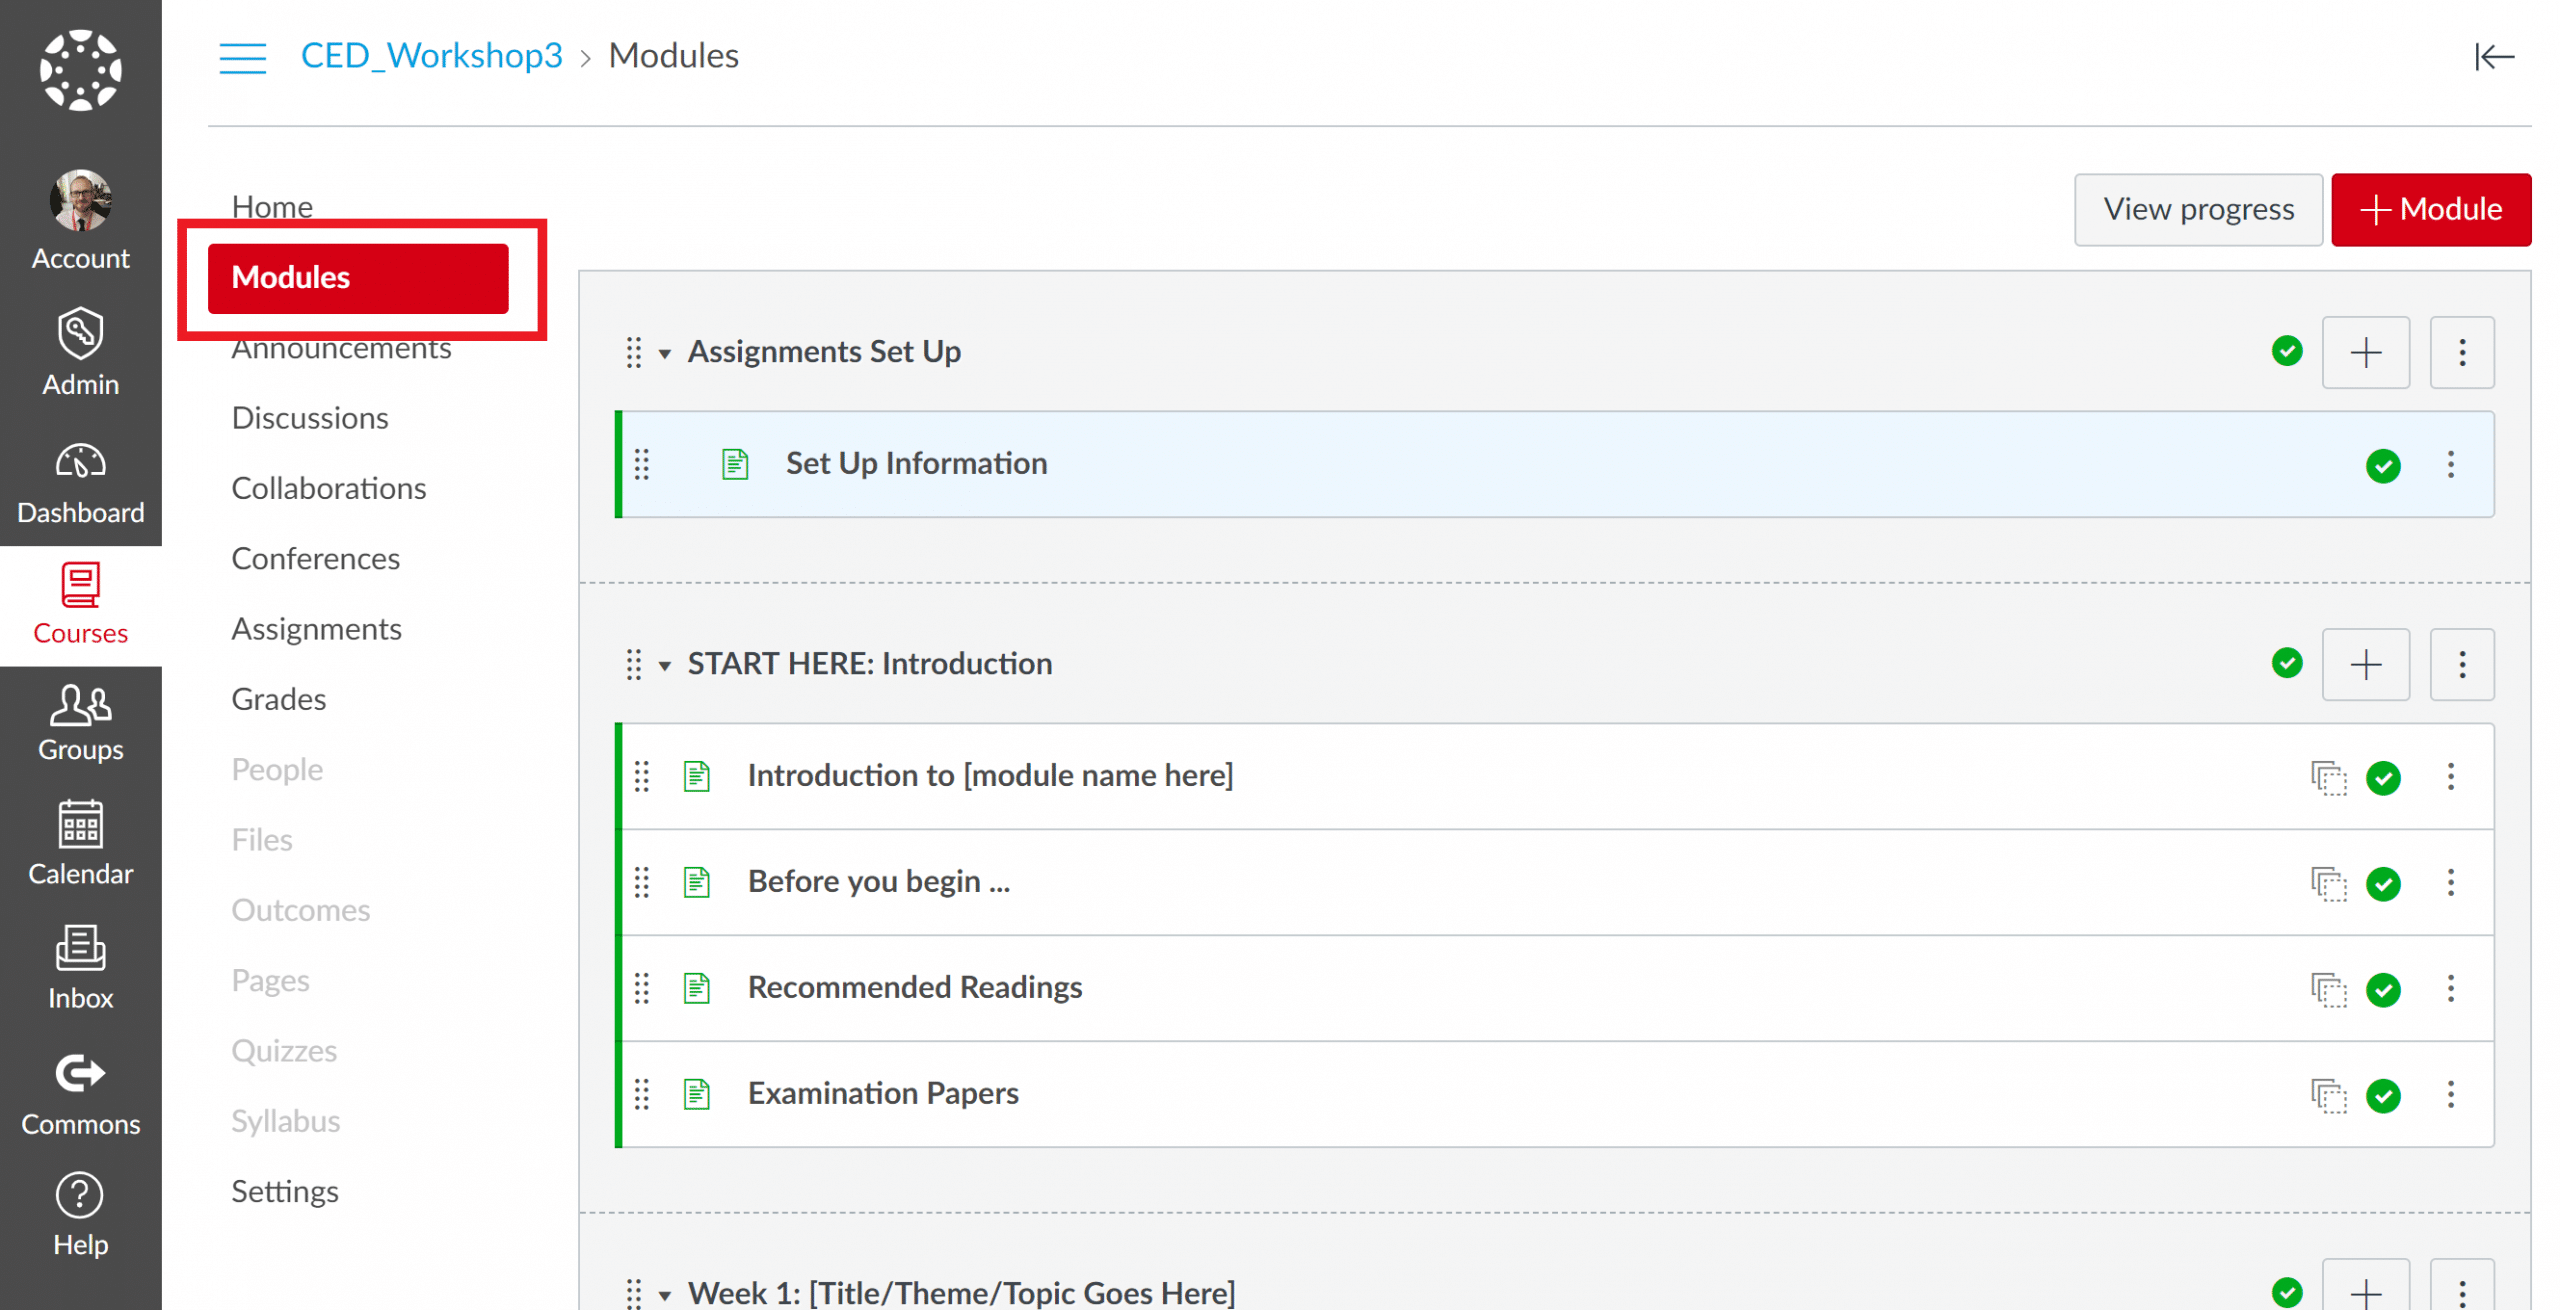
Other resources can be accessed on the left hand side of the screen by clicking on the various options e.g. Discussions, Quizzes and Assignments (see image below) .
The video below takes you through basic navigation of a Canvas course:
Within Canvas the students can be divided using two administrative tools, sections and groups.
Sections flow to Canvas automatically when 'components' are set up in the Queens student management system (QSIS) and are named using the QSIS naming conventions such as TT01 (Tutorial Group 1) , PR01 (Practical Group 1). Therefore if you have been allocated Tutorial Group 4 for example, your section will be TT04. This can be useful because it enables you to message only students in that section via the Canvas inbox, grade only that section (see below) and make announcements to only that section.
Not all Canvas courses will have the sections described above. If this is the case then the course may be split into student Groups. Student groups enable collaborative working between students and each group has it's own 'mini course' where materials specific to that group (announcements, pages, discussions, files, conferences, collaborations). You can also message everyone in the group or make an announcement to just that group.
The main difference from a TA point of view between sections and groups is that you cannot view grades or grade submissions by group (but can by section).
The video below takes you through Canvas sections and groups:
As a TA you will often be marking student submissions and this is possible in the ‘Grades’ area (see image below).
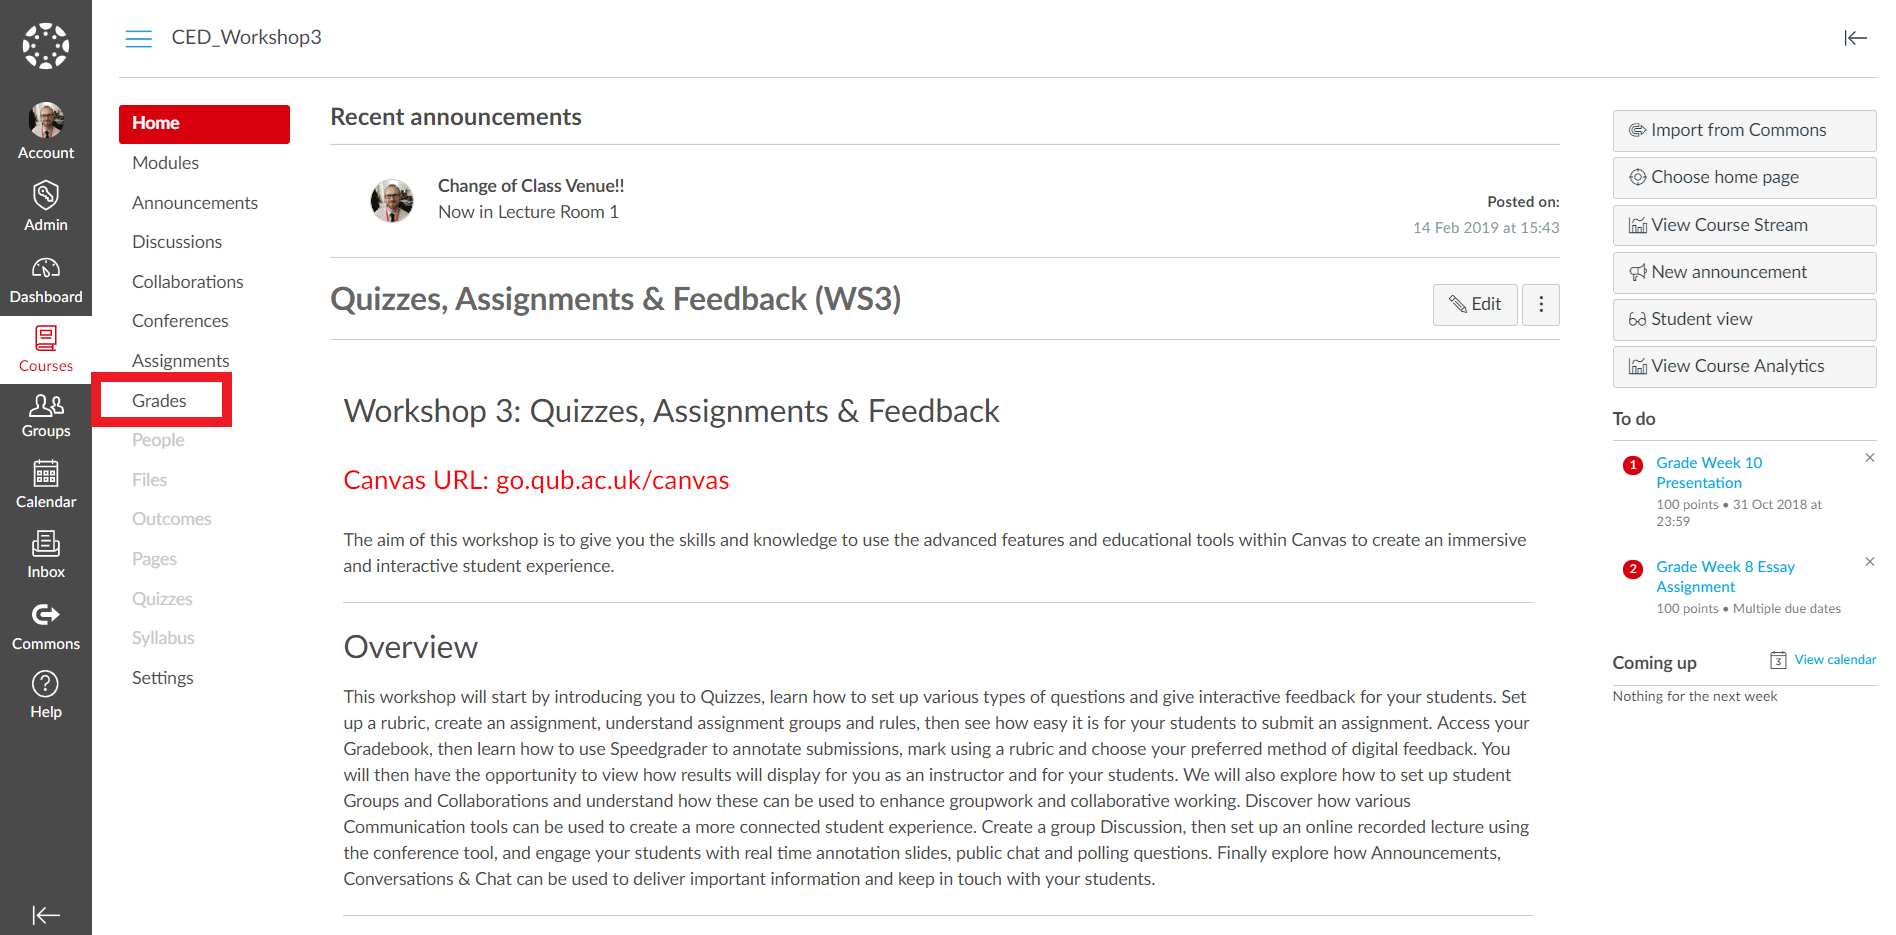
The ‘Grades’ area gives access to the student assessments. Each column with a blue title refers to a specific assignment. To view the student submissions click on the assignment and select ‘Speedgrader’ from the top left of the screen (see video below).
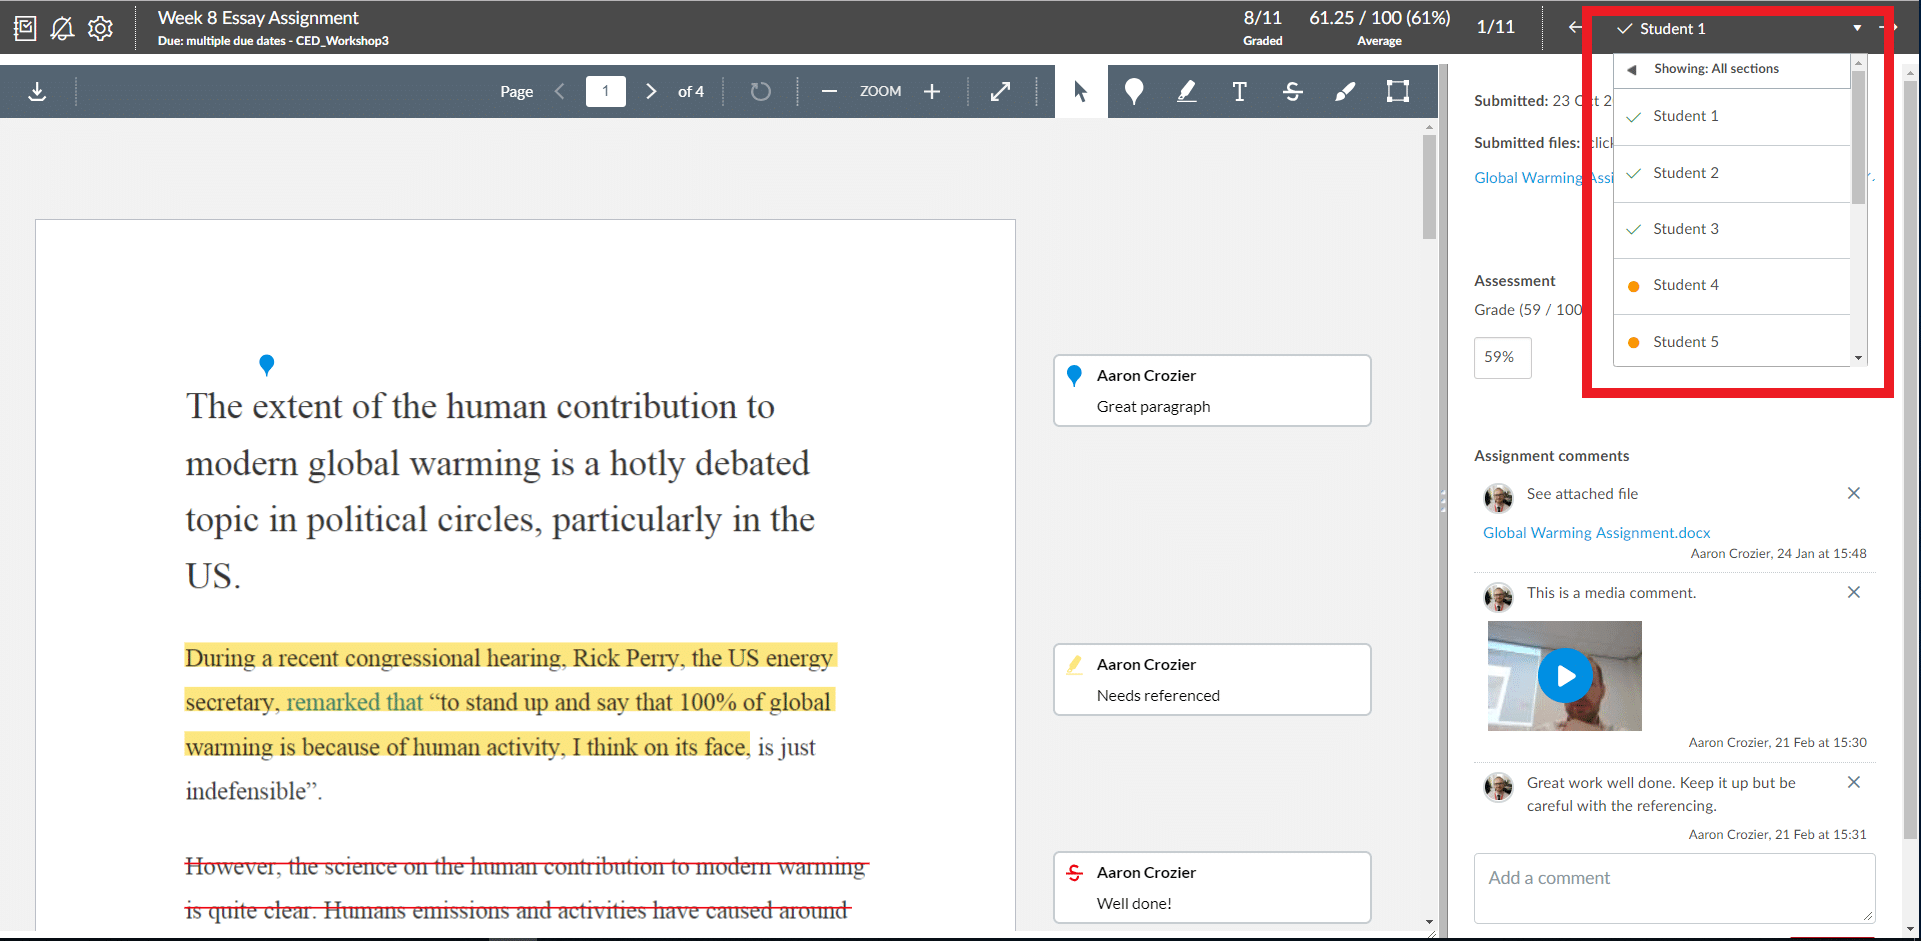
Within Speedgrader you can select the student submission you wish to grade via the dropdown menu in the top right of the screen and if sections are available on your course you can choose to view only the students in the section you are grading (see image below) .
The video below takes you through navigation of the 'Grades' area of a Canvas course and how to use Speedgrader:

If you are required to create learning materials on Canvas you can do this in the 'Modules' section by creating pages and inserting text, images, links, embedded video and much more. The video below outlines how to do this:

If you have created materials already such as Powerpoint presentations, reading lists or other documents you can upload them to the 'Files' section of Canvas and then link to them in a page. The video below walks you through this process: