
Top Tips for March 2019
Here are the Top Canvas Tips from the Digital Learning Officers in EPS. This month we will cover:
- Importing your existing file structure from Queens Online into Canvas
- Making your pages clear with text headers
- Customising your course navigation
- Adding rich content answers in Quizzes
- Grade banding
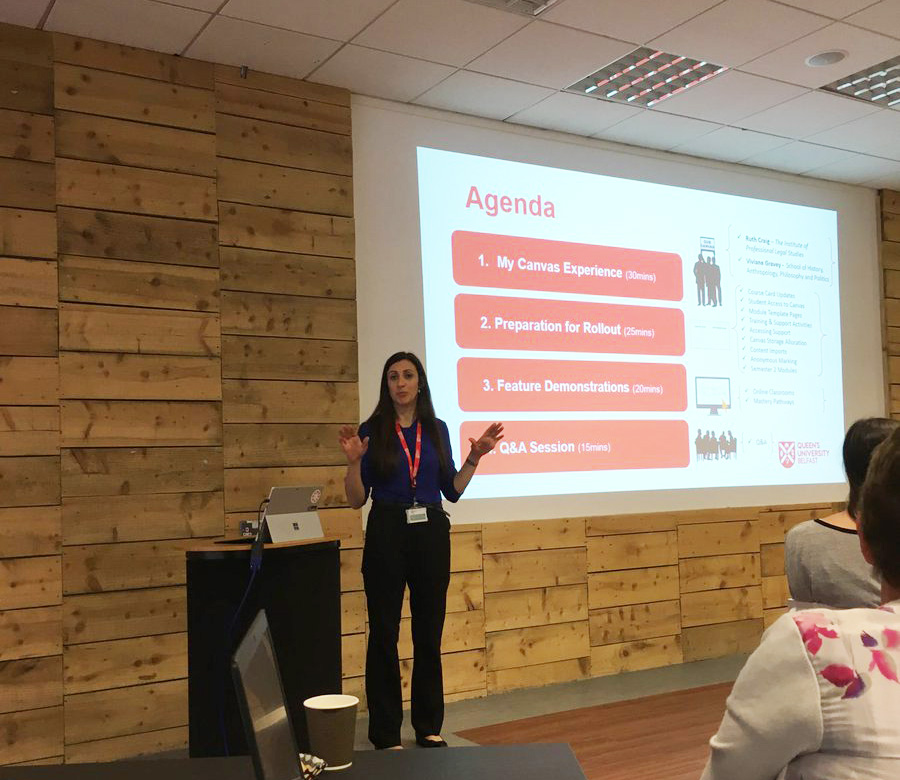
![Import your existing file structure into Canvas
Do you want to transfer the folder structure you’ve built in Queens Online into Canvas? It’s easy to import a zipped file directly into Canvas and doing so will maintain the file structure that you’ve built.
- In Queens Online, select all the top-level that folders you want to import into Canvas by clicking to the left of the title
- Click the files tab at the top of the page in Queens Online
- Click zip documents and all the selected files will download as a zip file to your computer
- In your Canvas course, locate the Files tab at the left side of the window
- Open your File Explorer in a window next to your browser that contains Canvas
- Drag the Zip file from your File Explorer into the Files area and release when the dialog box appears that says ‘drop items to upload’
- Canvas will ask you if you would like to expand your files or keep them as zipped files
- If expanded, your files will have the exact same structure that they had in Queens Online.
Make your Pages flow with text headers
Do you want your pages to be well-organised and easy to read? Consider using text headers to break up information into manageable chunks. It also improves the experience for students with limited or no vision who use assistive technology.
- Create a new page or click the edit button in an existing page
- In the Rich Content Editor highlight the text that you would like to make the text header
- At the top of the Rich Content Editor Window, find the drop down that says Paragraph [screenshot of drop down]
- Select which heading works best for your page.
Customise your Course Navigation
You will notice that your Course has a number of tabs down the left hand side. If they are greyed out, you can still access them, but they will not be visible to students by default. You can change what students can access in your settings. You can give students permission to view your Files section, your Mediasite library and more.
- In your Canvas Course, find the tab at the bottom of the left hand side entitled Settings
- Find the Navigation tab at the top
- Each feature has a card that you can drag and drop into the group that is visible to students (above) or the group that is invisible to students (below)
- Click Save at the bottom to make your changes visible to students.
Adding rich content to answers in Quizzes
Did you know that you can add media to multiple choice answers in Quizzes? That means you can get students to choose between different images, videos, equations and even tables so you can make your Quizzes as rich and detailed as you like.
- Start with the Quizzes tab at the left side your Canvas Course navigation
- Go into the appropriate Question Bank and add a new question
- When entering the answer to a multiple choice question, hover your mouse over the answer field
- Click the pencil icon that appears on the right
- This will expand the Rich Content Editor, which allows you to add a variety of different media into the answer field.
Grade banding
While Canvas does not yet allow grand banding in a traditional sense, you can hide cumulative marks in the Grade Book. This affords you some flexibility when marks change as a result of exam board decisions.
- In your Canvas Course, find the tab at the bottom of the left hand side entitled Settings
- Select the Course Details tab at the top
- Scroll to the bottom of the settings page and click the link for ‘more options’
- Tick the box that says ‘Hide totals in student grades summary’.](https://blogs.qub.ac.uk/digitaldevelopment/wp-content/uploads/sites/68/2019/03/Top-Tips-5-1-410x1024.png)