Even if you’re familiar with macOS, you need to know about how Macs are configured in the School. This information should get you started – if you have questions then email mp.support@qub.ac.uk
- Device Management
- Managed Software Centre
- Printing and NoMAD
- Symantec Endpoint Protection
- Office365 OneDrive
- Pairing Bluetooth Devices
- The default Dock
- Warranty
- Dongles
- Returning devices
- Mailing list
Device Management
For reasons of data security, and plain common sense, the University needs to manage the computers it issues to staff and students. This is particularly important when dealing with mobile devices which are much more likely to be lost or stolen. Apple provides Mobile Device Management (MDM) features in macOS and iOS, and we use a product called Jamf Pro to access those.
MDM on Apple systems covers a range of activities. It allows us to manage policies and features which would otherwise require hands-on access to a machine; it provides reporting and package installation; we can even remotely lock a system if it’s lost or stolen so that it simply can never be used again. Most of this is behind the scenes work, but at times you will be aware of it, eg. when new devices self-configure.
Managed Software Centre
We use a product called Munki to provide a private App Store for our systems. Certain packages are mandatory installs, such as Microsoft Office, while other packages are available for on-demand installation through the Managed Software Centre (MSC) app. MSC will also notify you if there are updates for packages it manages, as well as Apple software updates.
You can find MSC in the Applications folder on the Mac. If there are updates available it will pop up a notification to inform you. If there are critical macOS security updates then these may have an install by date – if the update is not installed by that point then MSC can forcibly log you out of the Mac and install the update.
Printing and NoMAD
The University uses Xerox Multi-Function Devices (MFDs) for its printing needs. Our Macs come configured with four print queues, giving access to colour and mono queues for both staff and students. You can set a default queue from System Preferences / Printers & Scanners.
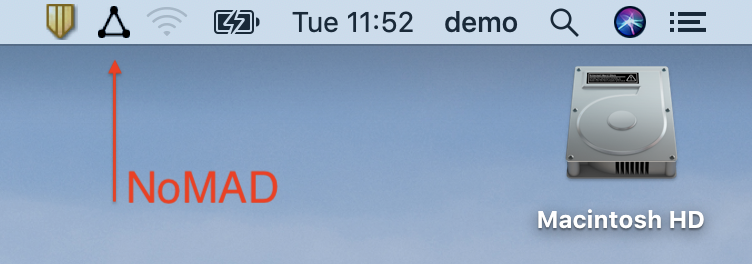
The print queues authenticate using your QOL credentials. We use a program called NoMAD to authenticate you to the QUB Active Directory (AD), and thus the printers (plus other services which use AD authentication, eg. Q drives and the p2p website). NoMAD is configured to open when you log on to the Mac and to keep running at all times – if you try to quit, it restarts.
NoMAD appears as a small triangular icon in the top right of the menu bar –
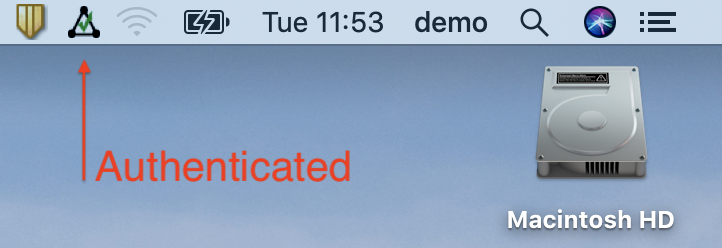
Click on that, select Sign In, and supply your staff/student number and QOL password when prompted. After a few seconds the icon will gain a green tick –
Please note that these print queues are only available when connected to the campus ethernet network – they won’t work on WiFi. Printing from WiFi is possible using the Webprint service. Follow the instructions for the driverless printing option.
Symantec Endpoint Protection
In line with University policy we deploy the QUB anti-virus package, Symantec Endpoint Protection, to our Macs. Macs are not immune from malware, but are certainly less prone to it than Windows systems. In general SEP will simply run quietly in the background and not bother you, but if you think it’s causing problems with something then contact the school IT team for advice.
When connected to the campus ethernet, once a day you may see a popup from SEP like this –
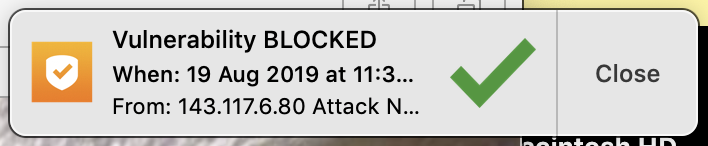
This specific message is generally nothing to be alarmed about. 143.117.6.80 is a QUB Networks system which does a daily scan of the campus network, and SEP interprets it as a threat. You can safely ignore this, and only this, warning.
Office365 OneDrive
All staff members and students have access to Office365, which includes 5TB of space on OneDrive. It’s important to understand that OneDrive has limitations – it can be picky about some characters in filenames, it is remotely possible that the entire thing will vanish due to some catastrophe in a Microsoft data centre, and we don’t have backups beyond the 30 day undelete option. However it’s a lot of useful storage for free, and I strongly urge you to make use of it, especially since we’re not issuing backup drives by default anymore.
OneDrive is automatically installed on all our Macs, and you can find it in the Applications folder. Log in with your QUB email address and QOL credentials and it will configure itself. It will create a folder called OneDrive – Queen’s University Belfast in your home directory. The folder name can’t be changed – so you will need to look into escaping file paths in Python, etc, to deal with the apostrophe.
I suggest that you simply keep all your important files in the OneDrive folder, so they’re always synced to the cloud and (relatively) safe. If you need to access them from another computer you can simply configure OneDrive or else log on via office.com. The only files which you should not keep in OneDrive would be large, frequently changed files, like Virtual Machine images. Be aware that you don’t have to sync everything from the cloud to the Mac. You can have archival folders which only exist online; you can also enable Files-on-Demand which installs placeholders for cloud files and downloads them when you access them. Both can be useful in managing your storage.
Pairing bluetooth devices
Most users will be issued with an Anker Bluetooth keyboard and Microsoft 3600 Bluetooth mouse. You can pair these by going to System Preferences / Bluetooth and putting the devices into pairing mode. They will then show up in the device list with a connect button.
You put the Anker keyboard into pairing mode by turning it on and using Fn+Z to enter pairing mode – a LED will flash to indicate you’re in pairing mode. The Microsoft mouse can be paired by pressing the button on the bottom of the device until the LED at the back of the mouse flashes green.
If you’ve been issued with a (recycled) Apple keyboard or trackpad then follow these instructions – use the instructions for ‘earlier devices’.
Displays
We issue you with an external display which you should use when at your desk. The Mac will automatically use both displays by default but you will probably want to make the external display the primary when docked.
The default Dock

Our systems are configured to have the Dock as close to empty as possible – this tends to be less confusing for new Mac users. Apple, however, insists on adding icons for Siri, Maps, Photos, and News – you can remove these at your convenience.
On the right side of the Dock we have a few icons added by default – links to your home directory and Downloads folder (both as hierarchical lists), and also a link to the Applications folder which will appear as an icon grid.
Warranty support
Our systems are bought under a national framework agreement which includes warranty support. All Apple devices come with 1 year AppleCare which means you can take it to any Apple Store or Authorised Service Provider and all repairs will be covered. After that we have an extra 4 years of return-to-base warranty with the suppliers, Academia. Systems will need to be shipped back to them, which involves an obvious delay. We do have spare systems which can be issued in these circumstances.
If you think you have a problem, speak with one of the IT team.
Dongles, backup drives, etc
If you need an HDMI or VGA adapter, ask one of the IT staff – we have a pool which can be borrowed if you’re giving a talk. If you need one full time we can order it for you, but we’ll need a project code to charge – ask your supervisor. If you lose a borrowed dongle you will be expected to replace it.
Between budget pressures and the availability of OneDrive we are not issuing backup HDDs this year. As with dongles, if you can supply a project code we will happily order a suitable device for you.
One good thing about Apple’s switch to USB-C / Thunderbolt 3 is that you can use pretty much any USB-C compliant device, be it video or network adapters, hubs, docks, or power supplies; no more proprietary Apple parts.
Returning devices
At the end of your contract (PDRA) or after submitting your final hard-bound thesis copies (PGRs) you must return the laptops, and peripherals, to one of the IT staff. Failure to return equipment may lead to graduation being blocked.
The University does not sell computers for reasons of data security; nor are we able to allow you to temporarily take a device with you when going to another institution. We realise this may be inconvenient, but these policies arise from past experience!
Mailing list & Teams
At present we have a mailing list, mp-munki, which is used to issue occasional messages to registered Mac users in the School. When you are issued a Mac you are automatically added to the list. In the 2019-20 academic year we expect to be replacing this with a Microsoft Teams group in Office365, which should add extra functionality.