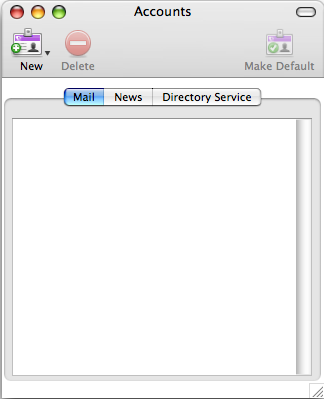
If you have not yet created any accounts the ‘Accounts’ dialog box (shown below) will open automatically when you lauch Entourage. If not choose it from Tools > Accounts.
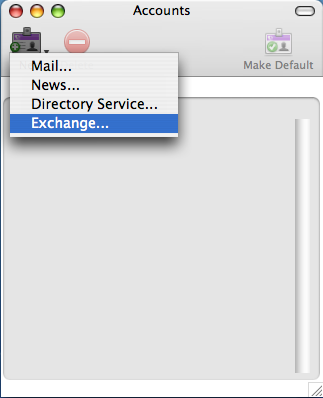
Click the ‘New’ button and select ‘Exchange’. (below)
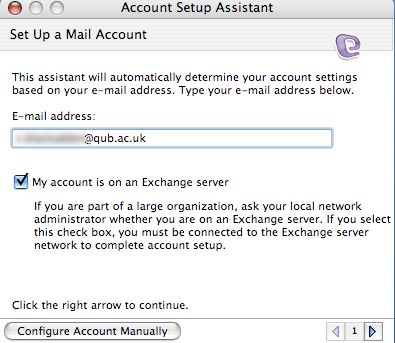
In the ‘Account Setup Assistant’ dialog box (shown below) type your email address and tick the ‘My account is on an Exchange server’ option then click the right arrow at the bottom to proceed to the next step.
In the ‘Account Setup Assistant’ dialog box (shown below) click the right arrow button to proceed to the next step.
![]()
In step 4 of the ‘Account Setup Assistant’ dialog box (shown below) type your full name, your email address and Exchange server address:
https://owa.qub.ac.uk/exchange/123456@ads.qub.ac.uk
Substitute 123456 for your own staff number.
For the LDAP server address you can type: qub-snd.ads.qub.ac.uk
Click the right-arrow button at the bottom right to proceed to the next step.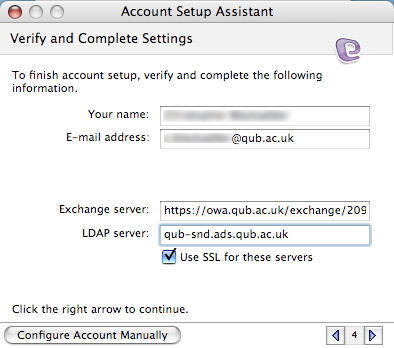
In step 5 of the ‘Account Setup Assistant’ dialog box (shown below) skip the verification and just click the right-arrow button at the bottom to proceed to the next step.
![]()
In the ‘Do you want to verify your account settings?’ dialog box click ‘Skip’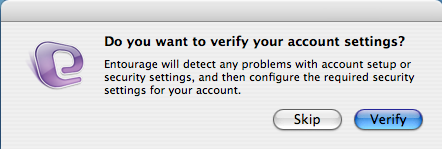
In step 6 of the ‘Account Setup Assistant’ dialog box (shown below) type a name to refer to this account e.g. your name. Then click ‘Finish’.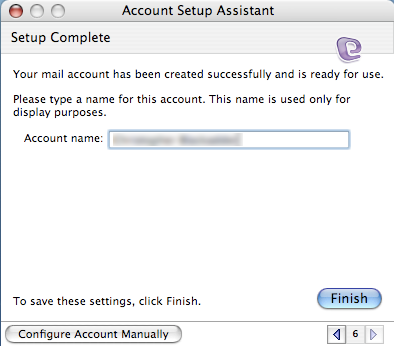
When asked for your QOL password enter it as follows (where the Account ID is your staff number) and click OK. The Domain is ADS.
You should now be able to use ‘Send and Receive’ and view email in your Inbox.