As part of my placement at the Development Office of the Arts, Humanities and Social Sciences (AHSS) Faculty, I was tasked with filming vox pop style interviews during the Digital Skills Festival promotion events, organised in collaboration with the Digital Learning Team. I received from the main organiser of the events and Digital Learning Developer Laura Farling a questionnaire, and brief description of filming sessions, locations, time, the purpose of the videos, and basic interviewing and framing tips.
I had done before vox pop interviews one-woman-crew style, using my iPhone13 and a gimbal, but this time I thought it would be more engaging to have an interviewer other than myself, so that the interaction between interviewer and interviewees is captured on-camera, rather than the videographer asking the questions behind the camera or in an awkward selfie-mode. Therefore, I asked my colleague and friend Hannah Harding to help, as she is an excellent communicator, friendly, with a great sense of humour and camera presence.
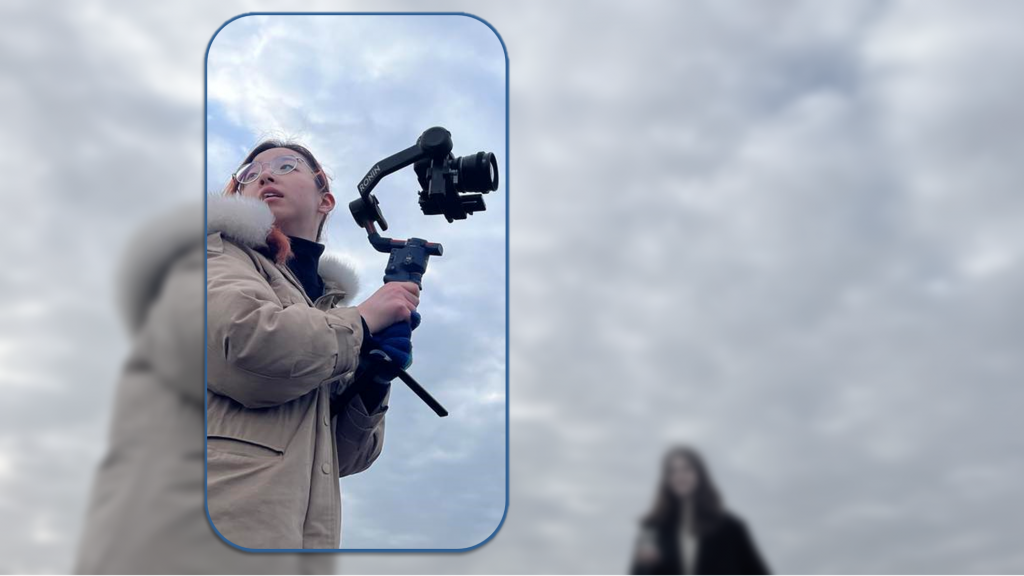
And there we are at the McClay library, Hannah and myself, waiting for the organisers to arrive, feeling like pros! We got this! After almost 3 years of Film Studies and Production, with extensive lectures and workshops on production, cinematography, storytelling, editing, with numerous films produced, filmed and edited (one of them accepted in international festivals), I am definitely able to film a short vox pop for Social Media!
We are being introduced by Laura to 6 students from the Digital Champions, who will be interviewed first, and then the plan is to roam around campus and find more interviewees. Up to this point, no further information on the intended Social Media platforms, video format or specific concept has been provided to me. After chatting with Laura for a couple of minutes, I am being instructed to film footage for two videos in two different formats: horizontal for a YouTube video and vertical for an Instagram Reel.
Vertical?! Black clouds of uneasiness and doubt condensate in my mind; I have never filmed vertical video in my whole life! I am the kind of person that would get irritated when people film with their phones in vertical mode, even if it is aimed for Social Media – is it the Vertical Video Syndrome (Napoli, 2016: 46)?
I understand how ironic it sounds that I am doing my placement as a videographer for Social Media and I hadn’t been prepared for the moment that I was going to be asked to film a Reel, but I am also almost 40-years-old, and as much as I am trying to catch up with everything, there is always the unavoidable tech-lag for us millennials.
“We live in a horizontal world, and most actions happen from left to right”;
(Manjoo, 2015, cited in Navarro-Güere, 2023: 73)
“Vertical videos feel claustrophobic”;
“Our eyes are horizontal”.
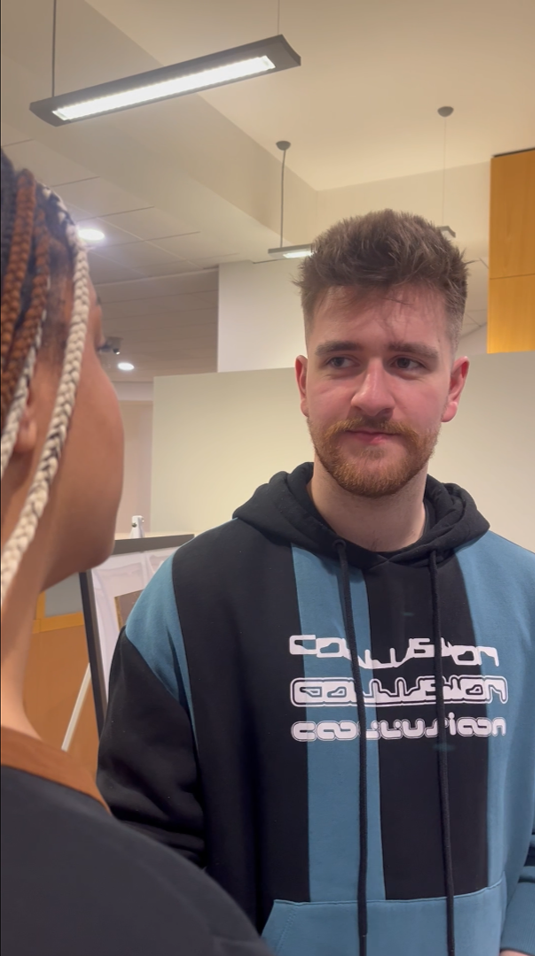
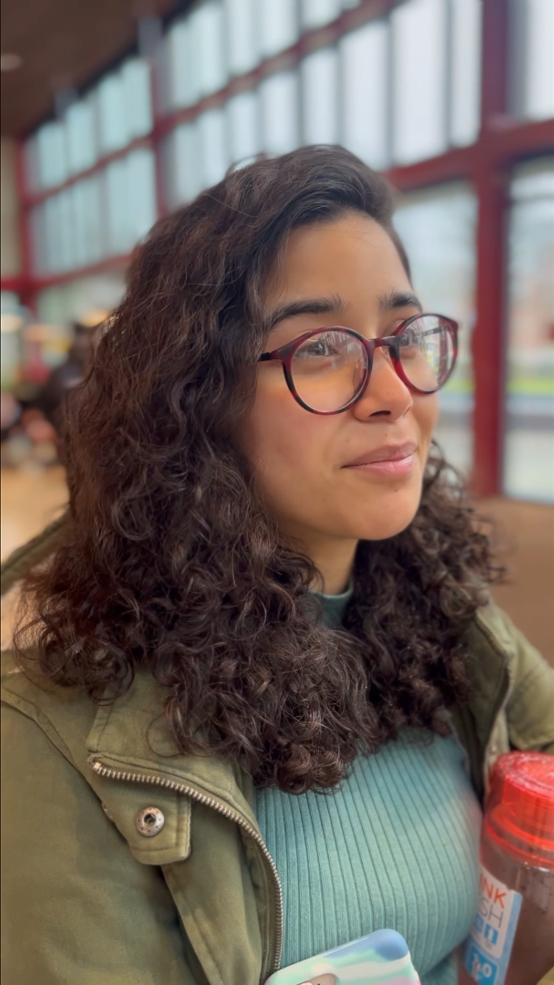
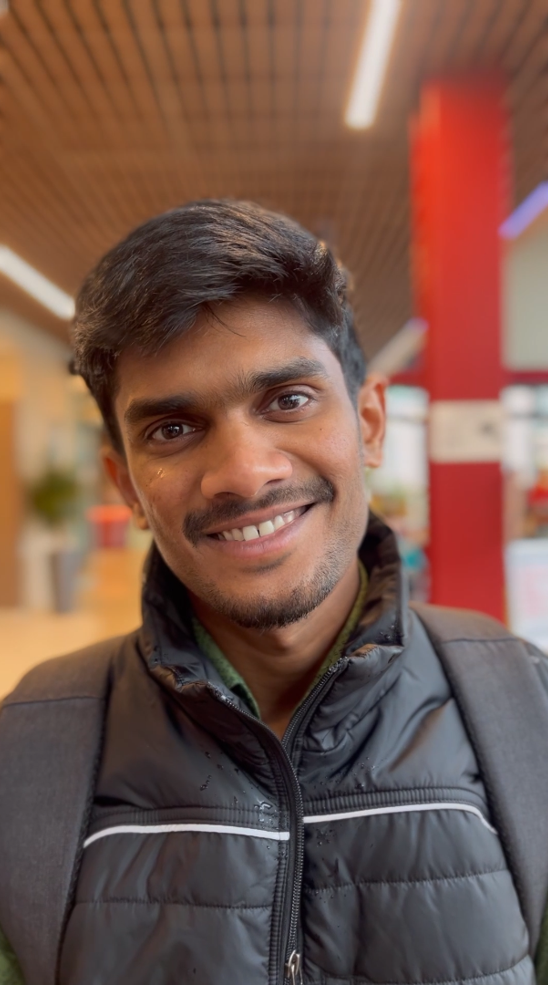
After the first panic attack and with less than two hours for filming, while Hannah is warming up with the first interviewee, I grab the gimbal and with a long and loud sigh, I flip the phone from horizontal to vertical and point it towards my two subjects. Cold sweat is running down my forehead as I am staring at this monstrosity:
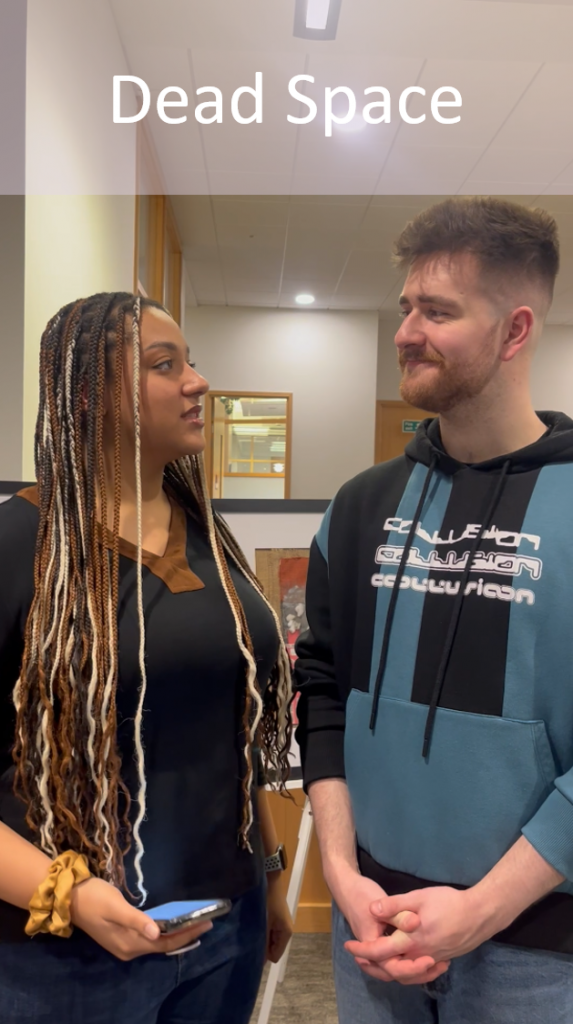
The two subjects seem as if they are being pushed by the left and right side of the frame, like a tubular extrusion pointing them upwards, possibly in an effort to fill all this empty space hanging above their heads!
My first reaction is to find a way to fit them both in the shot, without having to go too far, as I also need to record the sound with the iPhone mic. I am trying in the most polite way possible to ask them to approach each other, witnessing the awkwardness intensifying – almost to the point I thought we would be needing an intimacy coordinator!
“Recording vertically does not mean you are a technological ignoramus, or a sluggish philistine who cares little about the creative process. Instead, it indicates being at the forefront of a novel and potentially far-reaching artistic trend.”
(Manjoo, 2015, cited in Navarro-Güere, 2023: 74)
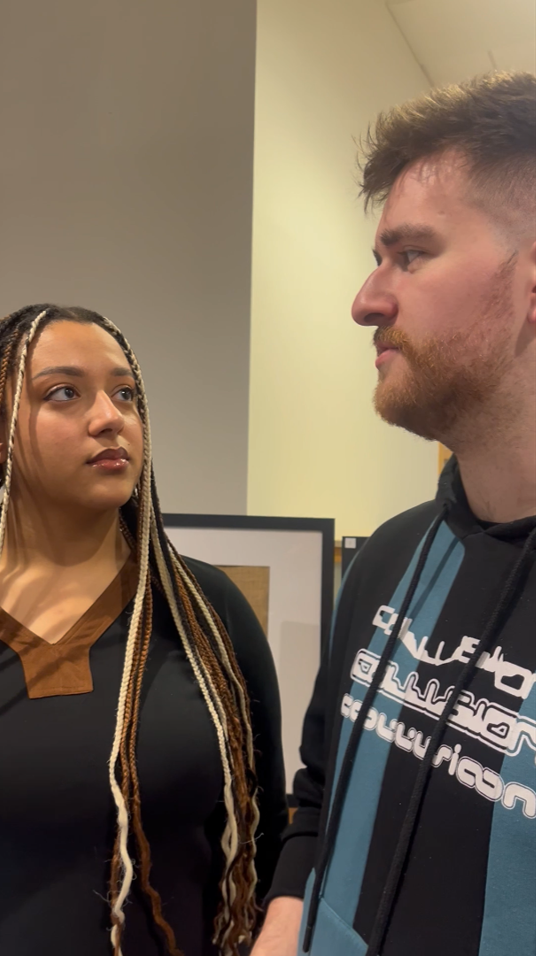
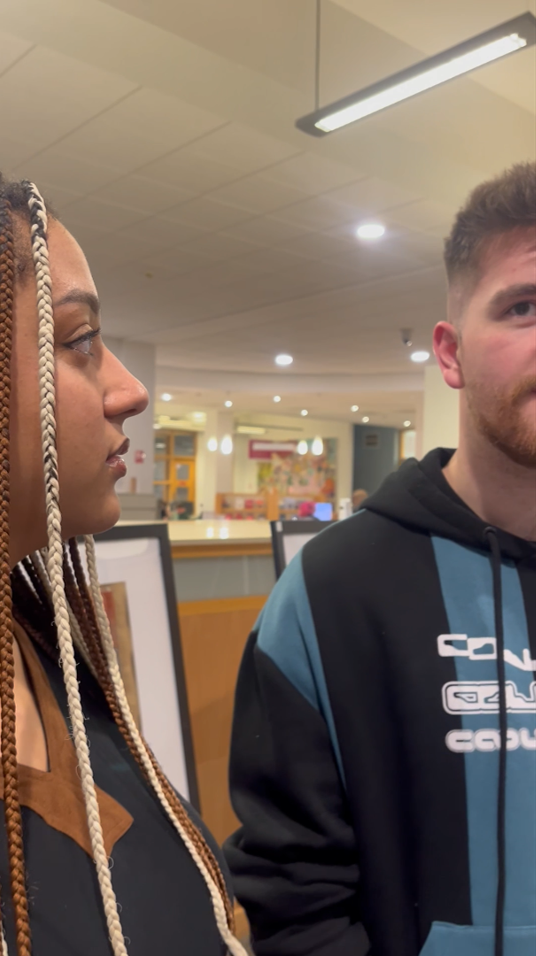
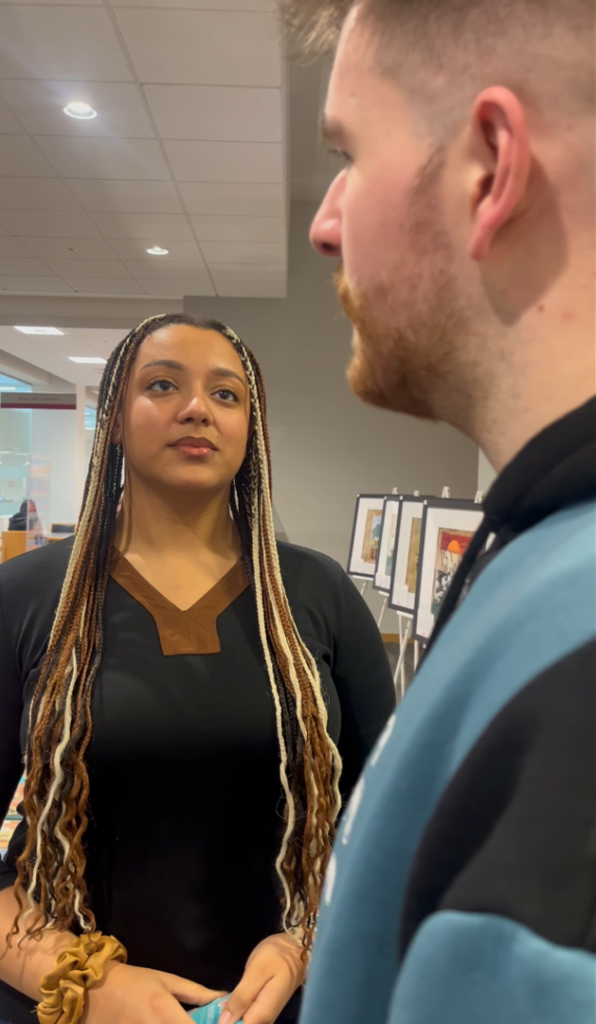
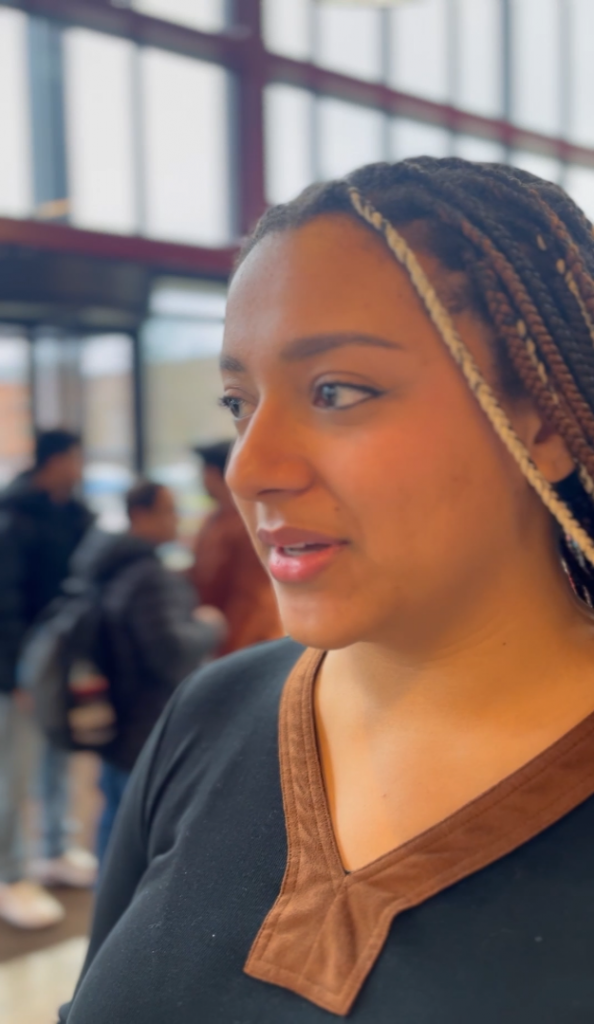
While Hannah is interviewing Conor, I am struggling, not only to find a way to frame a two-shot, but also to try and get an over-the-shoulder (OTS) shot from both Hannah and Conor at each question, to be able to edit a shot-reverse-shot in post-production:
The first two interviews are a disaster, with only slight improvement in framing. I don’t know if my decision at this point to make the horizontal YouTube video with the Digital Champions is partly assisted by the terror I felt while filming in vertical mode, but I think that it makes total sense to have a longer format interview and video with students that had an in-depth knowledge about digital skills, and subsequently make a shorter more playful Instagram Reel interviewing students that wouldn’t know much about the Digital Skills Festival.
And what a relief it is that I am able to go back to the beautiful horizontal mode:

Still from a horizontal two-shot with Hannah and Matthew. It could be better, but at least they don’t seem like they are about to dance the tango like in the vertical two-shot above with Hannah and Conor. 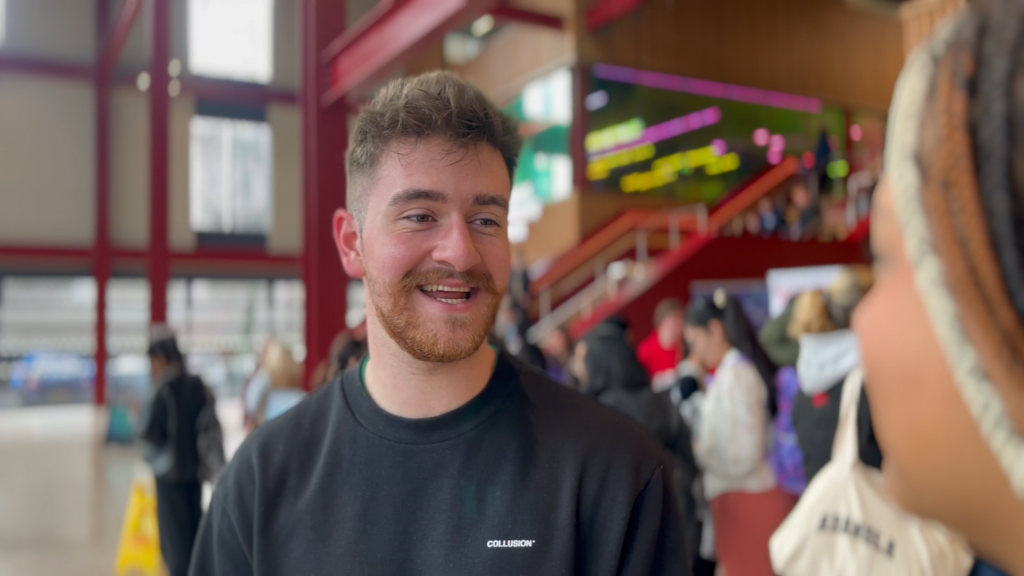
Still from OTS in horizontal mode. Conor definitely seems happier now that he has more space to think. 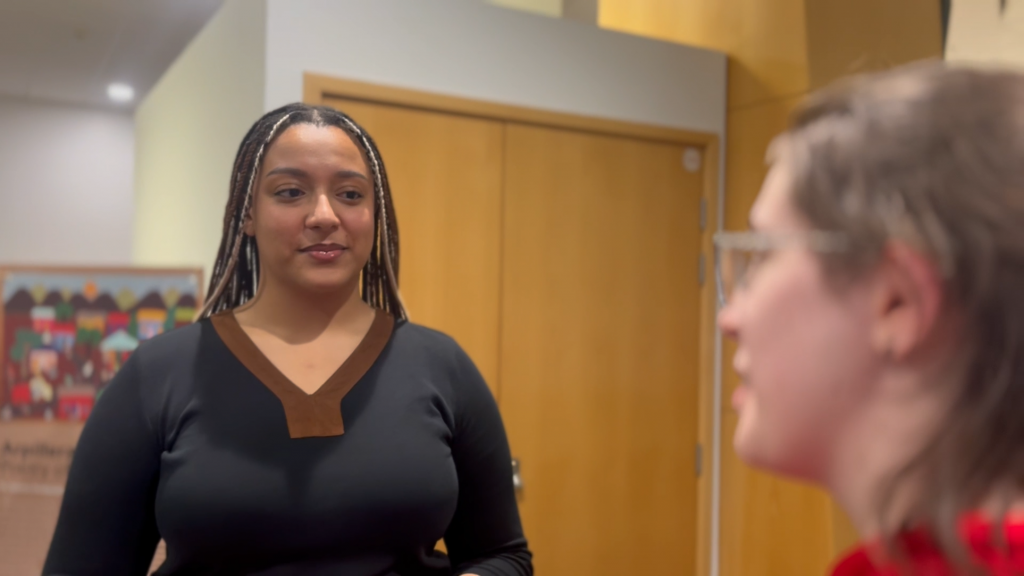
Still from a horizontal OTS with Hannah and Laura. The horizontal mode offers enough space horizontally to frame the speaker or listener respectively. 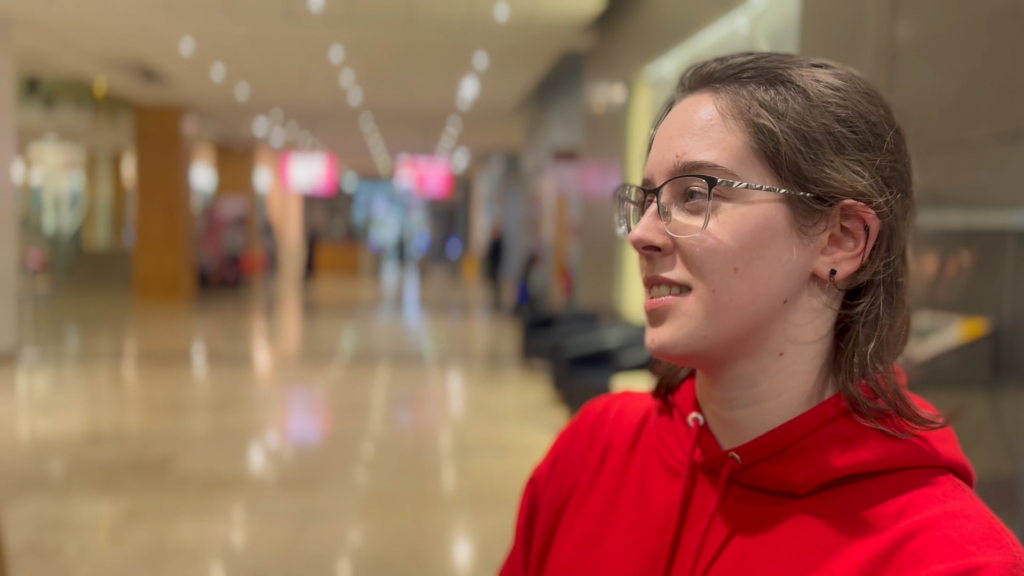
Still from a horizontal mode with Laura, where perspective fills the dead space. As we will see later, dead space can be a problem in both modes, but perspective can help foregrounding our subject. 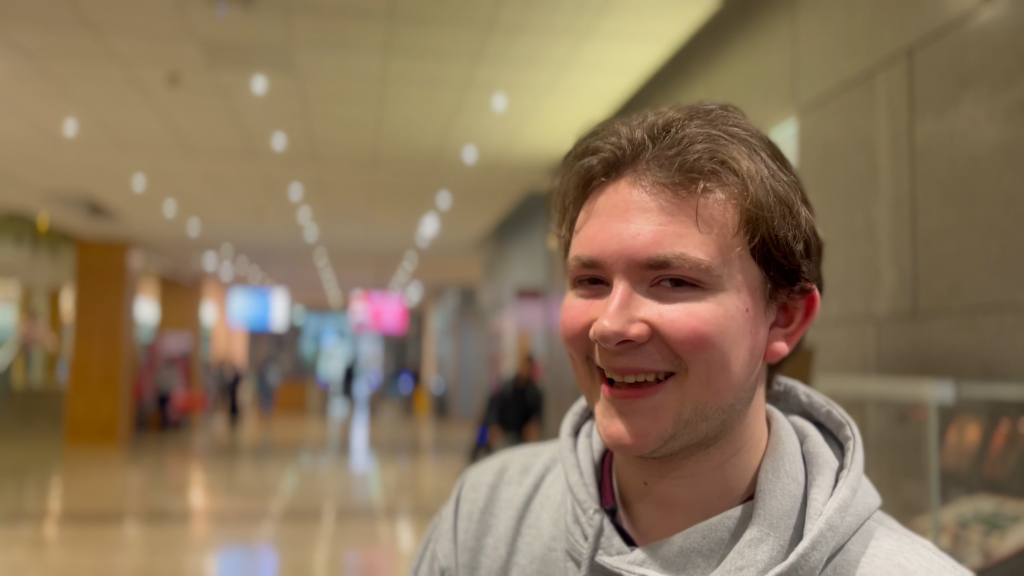
Still from a horizontal mode with Matthew, where perspective fills the dead space.
Can you feel the breathing air the horizontal mode above offers to a two-shot and an OTS shot?! Is there even a way to have aesthetically pleasing two-shots and OTS shots in vertical mode?
I might be out of danger for the next few interviews, but while I am gracefully dancing with my gimbal and iPhone in horizontal mode around my two subjects, my mind is racing, trying to figure out a way to frame these annoying vertical two-shot and OTS shots, and I am ready to transition from Borton’s Developmental Framework “What?” moment to “So What?”, sensing the need “to operate in the real world of practice – the need to identify, make sense of and respond to real-life situations” (Jasper, 2013: 99); whether I want it or not, I will have to find a way to film this Reel!
So What? Back to Basics…?
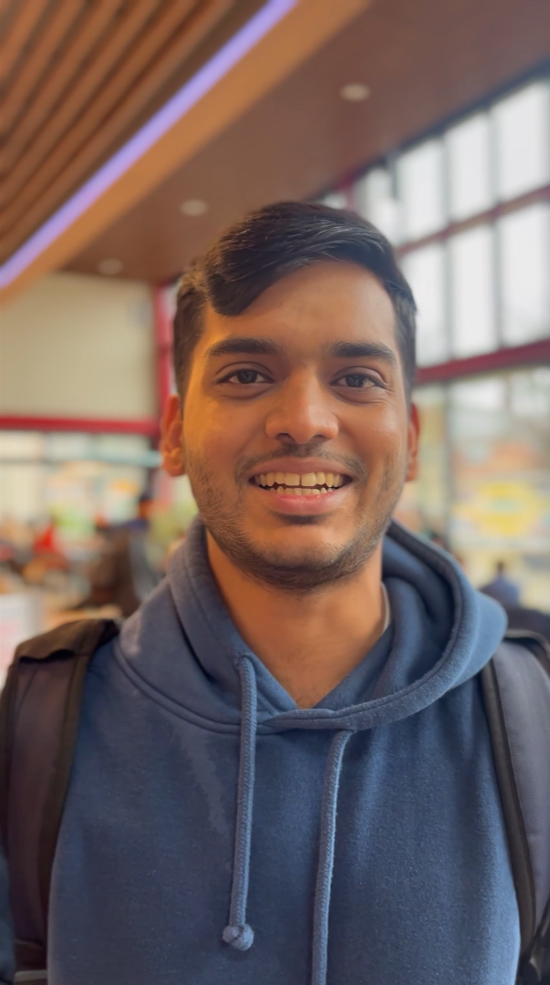
These are the two first shots when the vertical mode starts making sense to me (although in terms of framing it still needed a bit of work):
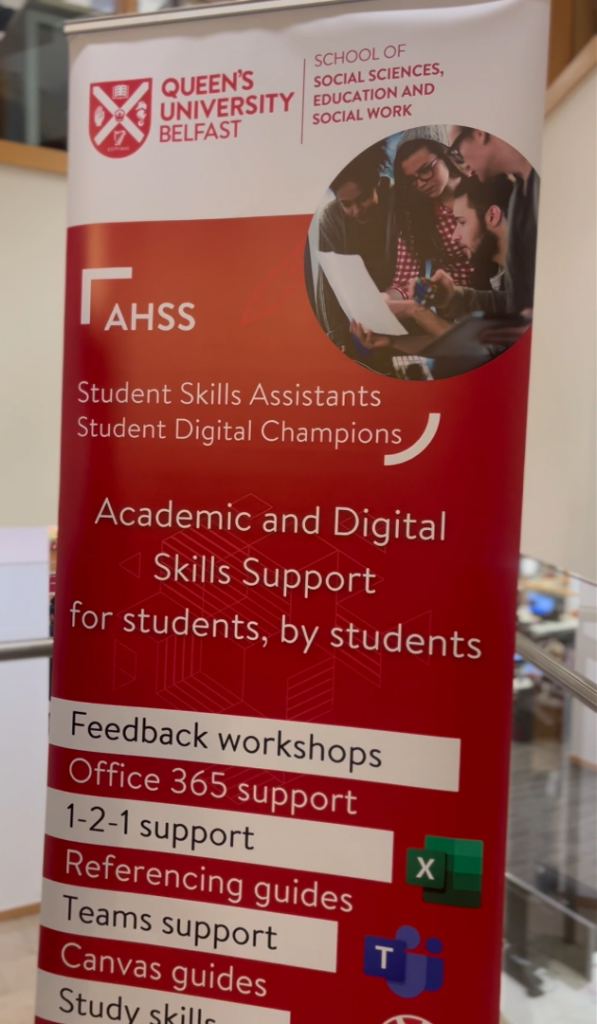

Tip 1 – Framing and Shape: Choose subjects that are vertical-mode-friendly, such as rectangular shapes like the banner above, or a full body shot of a person.
Shape.
This is the most important problem to address in framing a subject, whether in horizontal or vertical mode. Of course the two-shot tends to be almost a square, if you would like to give a bit of space between the two subjects, like in an interview. A scene with a couple hugging, for example, wouldn’t be a problem in a vertical mode, on the contrary it would emphasise the closeness of the couple. But Hannah and Conor above had only just met!
So choosing subjects that are vertical-mode-friendly is essential (Tip 1).
“Horizontal photography has been traditionally considered the most suitable to show places and, in particular, landscapes, while vertical photography has been used to enhance the portrait or those elements of landscape with the prevalence of vertical lines, as trees or buildings”
(Napoli, 2016: 47)
Perspective.
This is the answer to at least three of the problems the vertical shot imposes: two-shot, OTS shot and dead space. And the funny thing is that the answer has always been there, but my horizontal muscle memory mode does not allow for enough flexibility so that my brain can rediscover it.
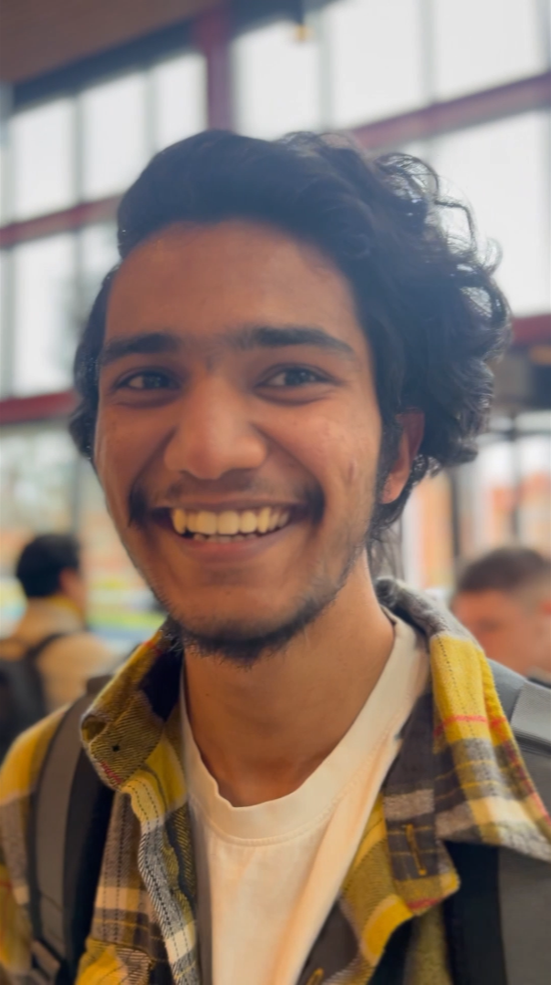
Just when I am about to decide that two-shot and OTS shot do not make sense in the vertical format, this is what happens:
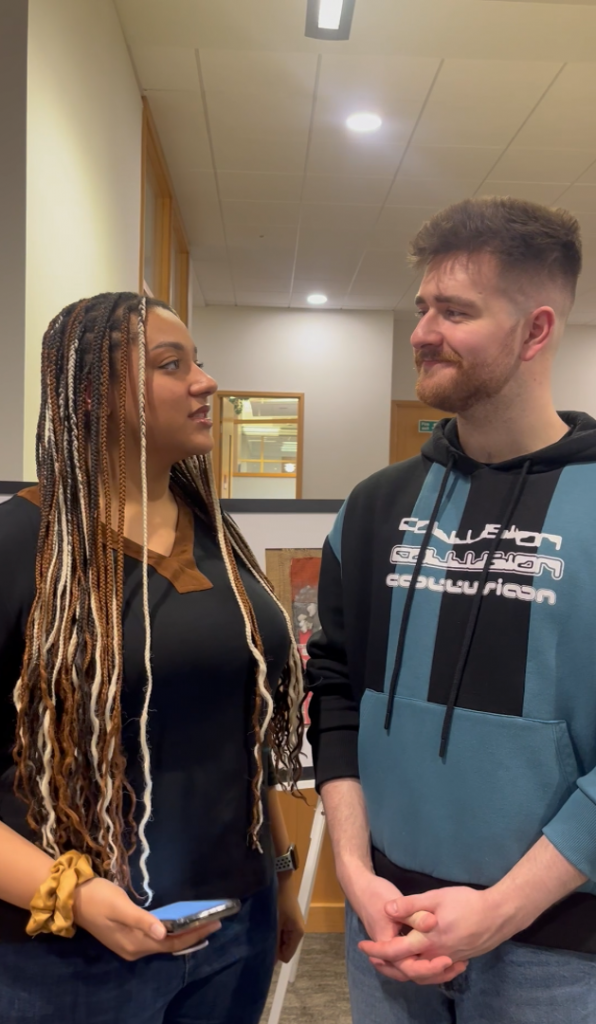
Tip 2 – The Two-Shot Case: Frame your subjects using perspective (left image above). Also applied for the OTS shot.
Tip 3 – The OTS Shot Case: Film two separate shots, using perspective to match the eyeline during editing (middle and right images above).
Just by using perspective, not only you can fit two subjects in one shot (Tip 2 above), but you can match the subjects’ gaze imitating an OTS shot (Tip 3 above).
And of course, perspective does wonders for the dead space too! By reframing the subject, minimizing dead space, and using the surroundings to add perspective, the vertical shot doesn’t look that rectangular anymore (Tip 4 below).
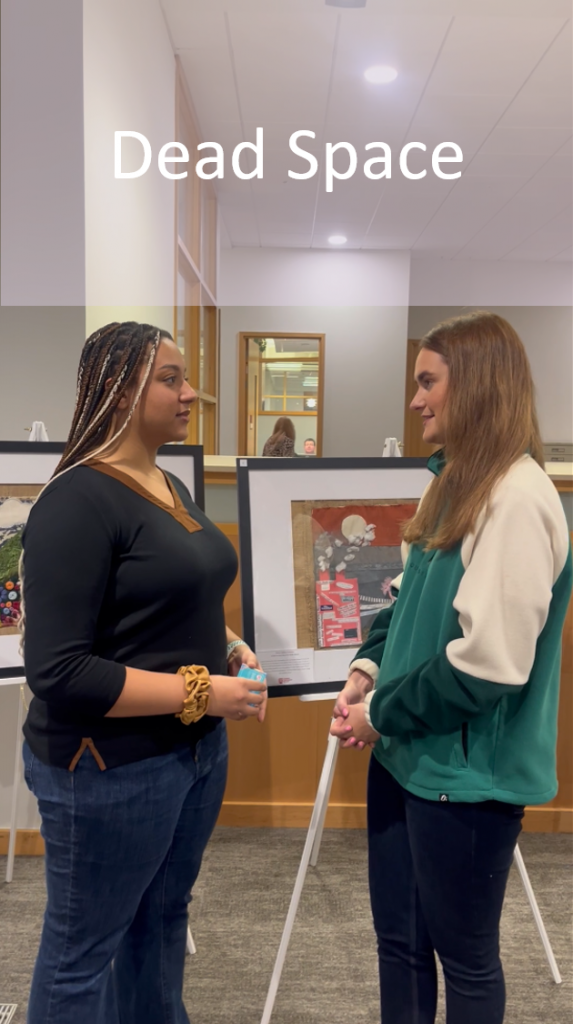

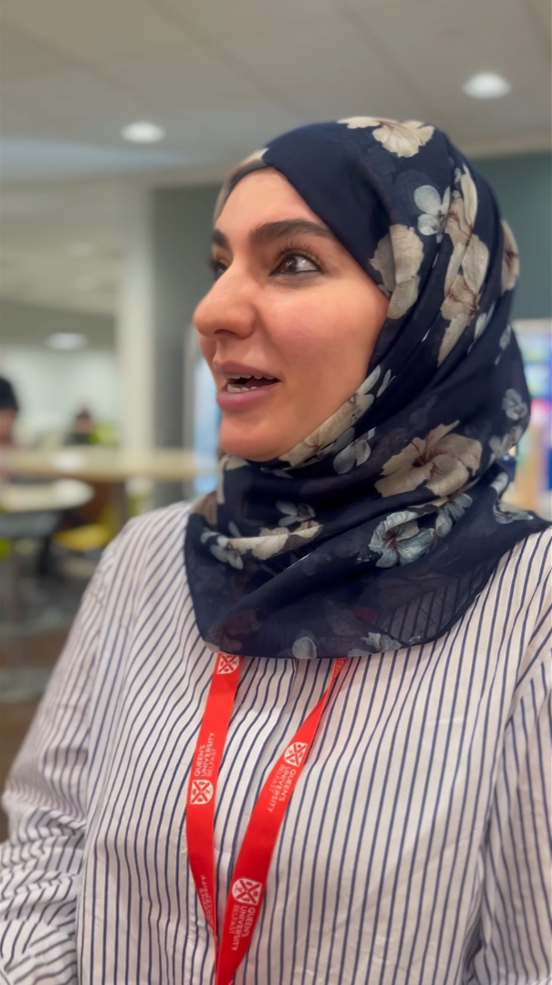
Tip 4 – Dead Space: Reframe and add perspective to the dead space, or fill it with something meaningful.
These solutions to the vertical shot problem were realised during the filmmaking process, based on trial-and-error learning, and with an effort to abandon old habits (horizontal framing) and rediscover the basics (shape and perspective).
“The reflective activity actually led to action being taken, rather than it being proposed or tentative. It moves from the realms of ‘maybe’ back into the real world of practice.”
(Jasper, 2013: 101)
Now What? Newfound love…?
No need to emphasise that what is learned during action stays with you forever – which definitely will save future interviewees from awkwardness and embarrassment by being cramped against one another (I cannot imagine what I would have done back in the Covid19 days!). Now that I am confident with filming on vertical mode, I will be designing the shotlist based on the insight I gained from my first experiments (Tips 1-4).
“Keep a record of how you gain more knowledge and where it comes from… predict your actions, try them out and reflect further on how your practice has changed as a result of your increased understanding.”
(Jasper, 2013: 104)
But there is a further way to reflect upon the options offered by both the vertical and horizontal shots, and these can easily be discovered during post-production, from the comfort of your desk and monitor, rather than the hasty, crowded, and time-limited filming process. High resolution 4K offers the option to crop your shot from a horizontal to vertical, and use footage to edit both video formats (Tip 5)!
That said, who would have thought that the vertical shot will end up saving the day and finding its way in the horizontal YouTube video?! Below you can see vertical shots cropped and used in the horizontal clip:
Tip 5 – V to H and H to V: Crop your clip from vertical to horizontal or horizontal to vertical during editing (preferably filming with 4K).
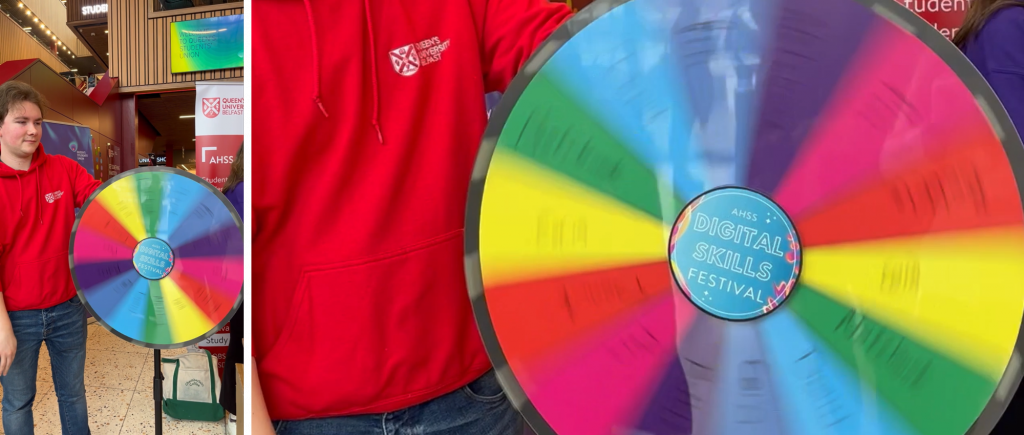
Although you do loose a bit of the resolution by cropping and zooming in, the clip above was only 3 seconds long, and the blurring effect from the spinning wheel created a nice contrast to the static circle in the middle, distracting the eye from noticing the difference in resolution with the rest of the footage.
A second example that I only noticed in post-production and I will keep in mind for future vertical shots is the tracking shot seen in the videos below. As our horizontal field of view is wider than our vertical view, tracking a horizontal movement on vertical mode feels odd; while scanning the screen vertically, we miss information at the lower and higher part of the screen.
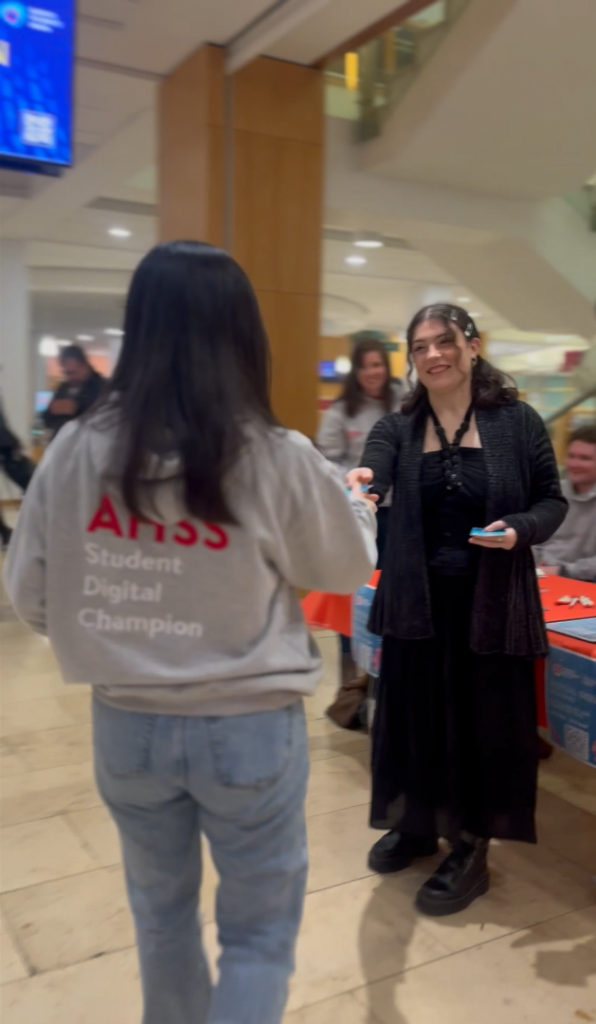
Vertical mode on the rescue once more; as I was lacking a horizontal tracking shot, again cropping the vertical did wonders. Below you can see how much more meaningful the sense of wide space is in a tracking shot (Tip 6). Also, speeding it up in post-production can add a playful effect, screening the lack of resolution, and drawing the attention to the crowd of students at the Digital Skills Festival stand (Tip 7 below).
Tip 6
The Tracking Shot in Horizontal
Crop a tracking shot from vertical (clip left) to horizontal (clip below) to expand the space and sense of direction.
Tip 7
The Tracking Shot in Low Resolution
Speed it up or add effects, it’s social media after all…
Experimentation and repetition does wonders in exploring new media, technologies and ideas. In filmmaking, the three stages of pre-production, production and post-production, align perfectly with Borton’s Developmental Framework, “What?”, “So What?”, and “Now What?”. During pre-production, producers and directors pose the problem, during production they solve the problem on the go, and in post-production they review the result and decide the next moves.
After my first encounter with the vertical mode, not only I keep on thinking of new ways how to take advantage of its aesthetic prospects, but it has allowed me to reconsider basic values of cinematography and framing, which I will also be applying on horizontal filmmaking.
And of course, I am grateful to the vertical mode that made me feel a bit of Gen Zer!
“In the near future, it might lead to a significant change in the way we think of film and moving images, overcoming prejudices and criticism by going through a necessary phase of experimentation and, probably, metabolization.”
(Napoli, 2016: 48)
References
Jasper, M. (2013) ‘Frameworks for Reflection: Borton’s Developmental Framework’, in Beginning Reflective Practice. Melbourne & London: Cengage Learning, pp. 73–106.
Napoli, M.D. (2016) ‘The “Mobile Effect” on screen format: the case of vertical videos’, Journal of Science and Technology of the Arts, 8(2 SE-Articles), pp. 45–49.
Navarro-Güere, H. (2023) ‘El vídeo en formato vertical. Una revisión de la literatura en comunicación’, Revista Mediterránea de Comunicación, 14(1 SE-Monográfico: Audiencias y nuevas formas de emisión: lineal, bajo demanda, streaming y/o social), pp. 69–81.